Recording Tips

Simple Room Micing Trick

Simple Room Micing Trick


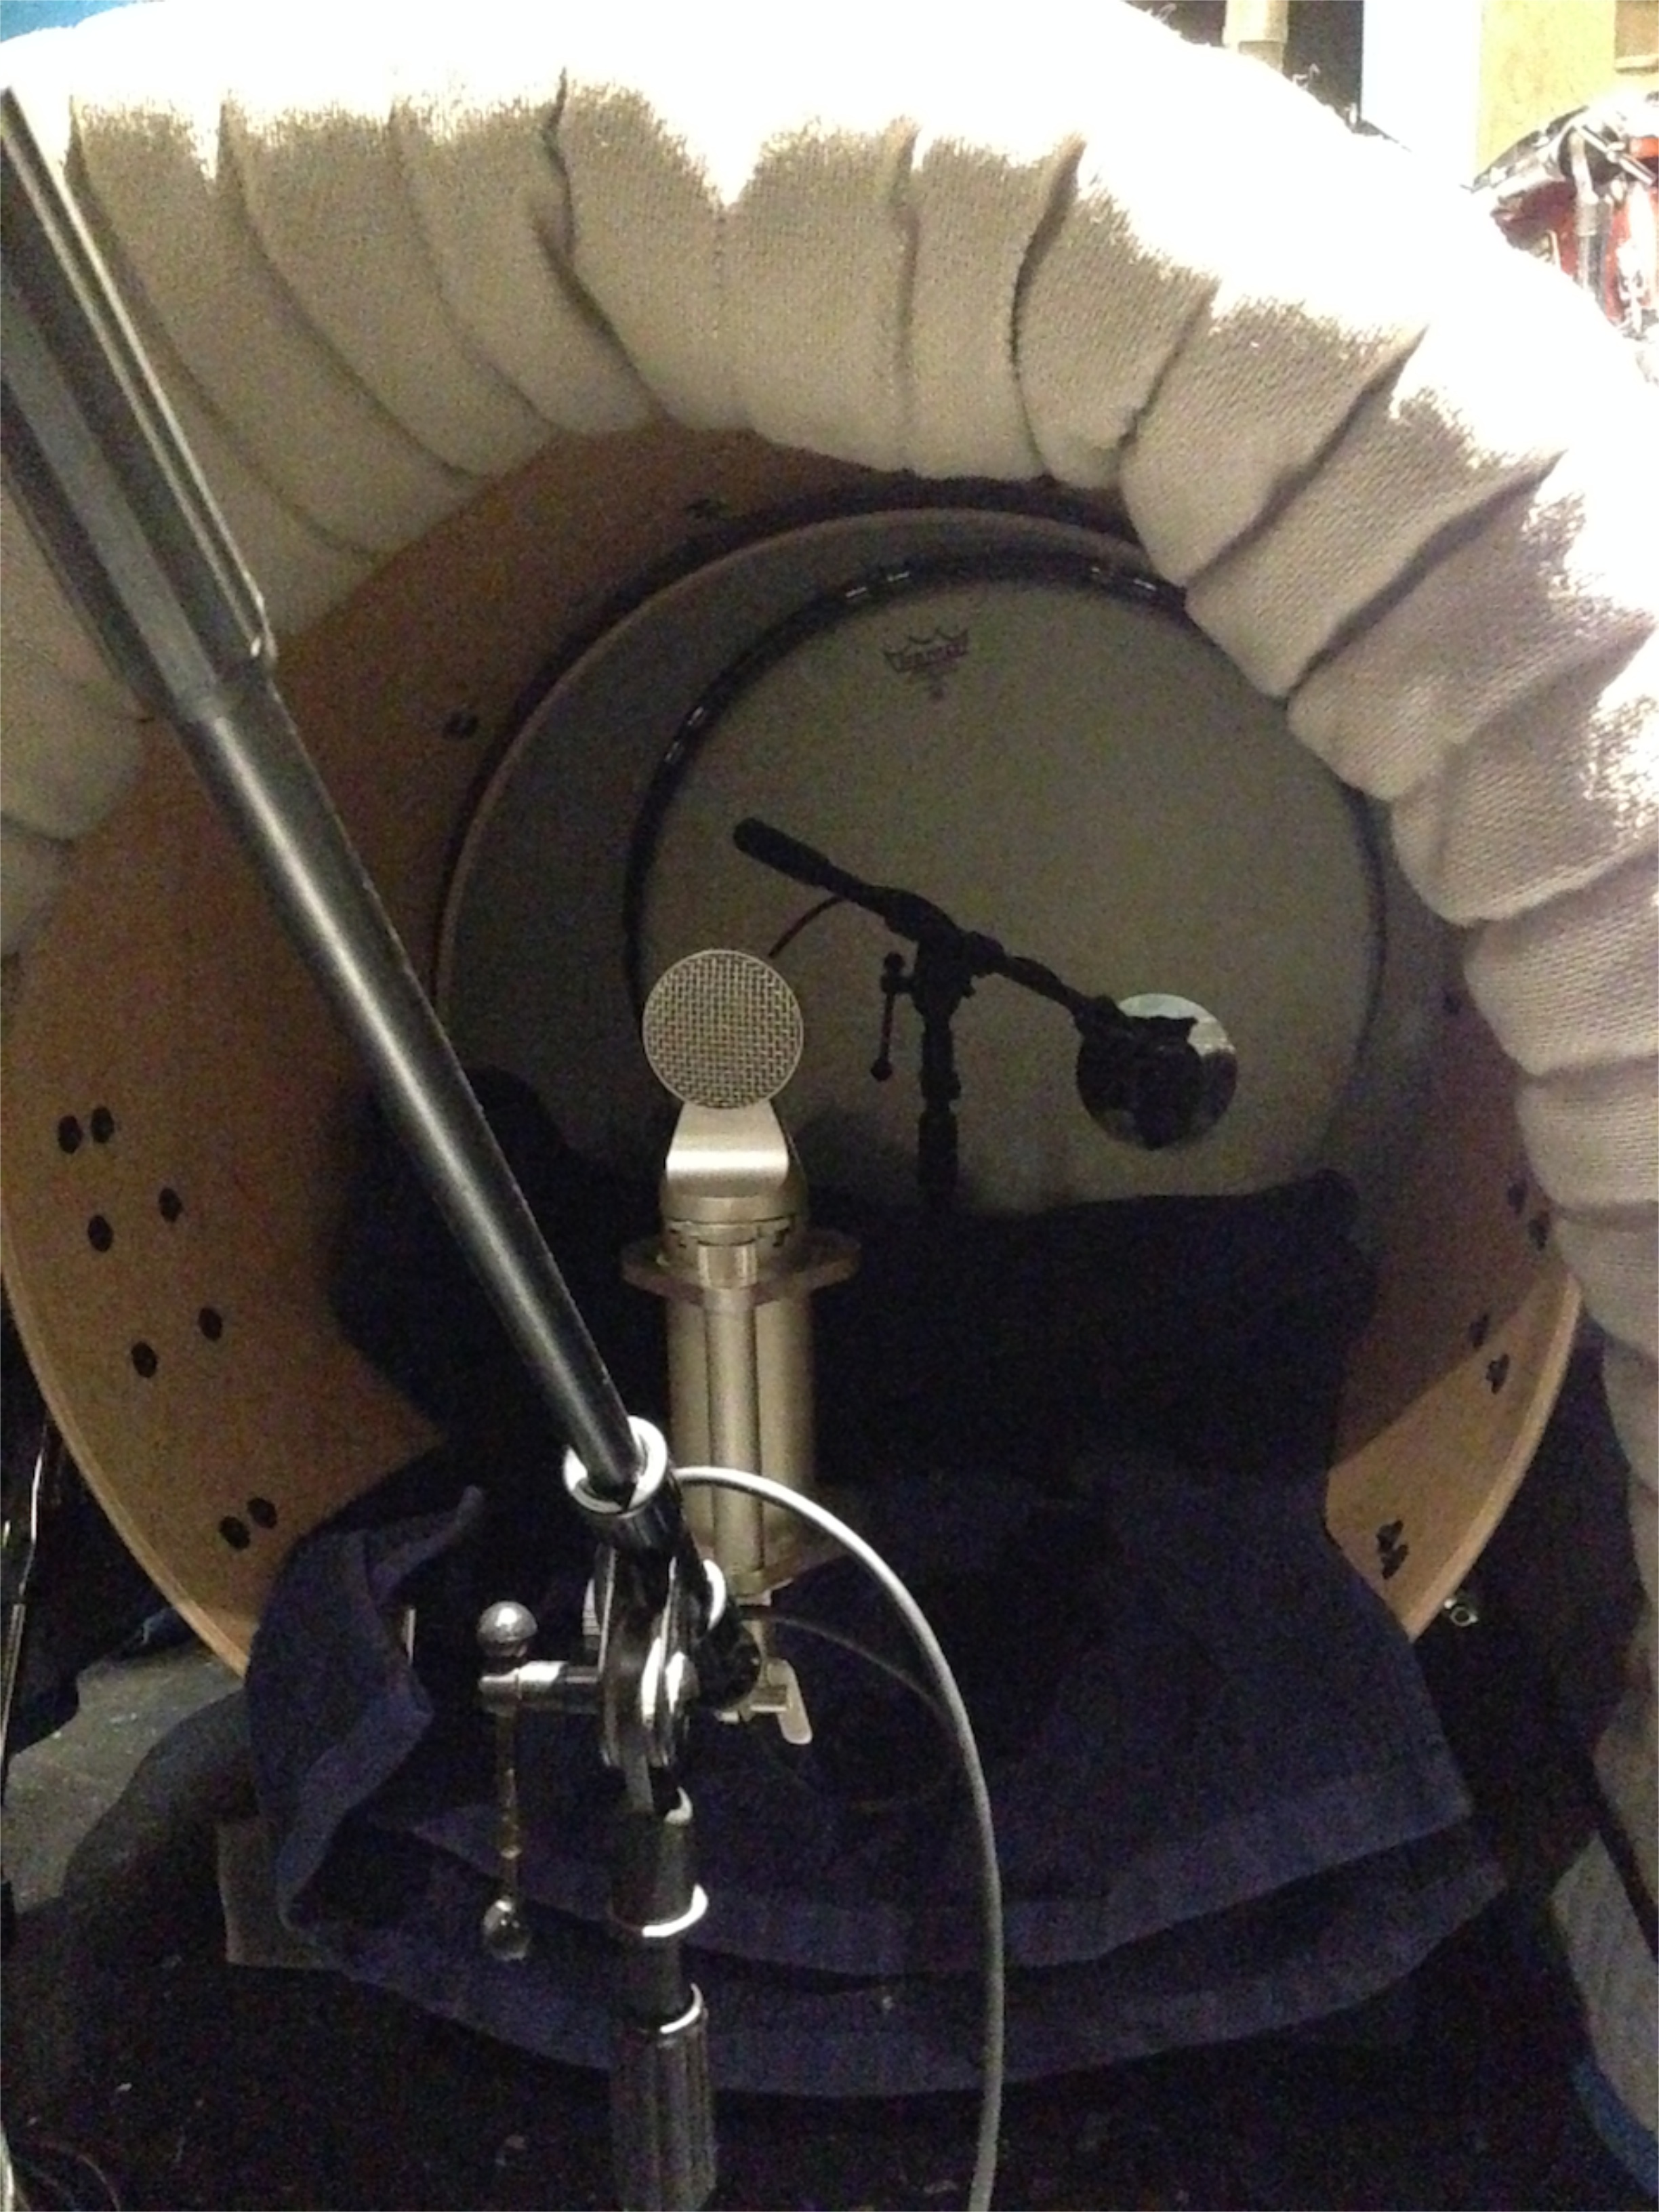
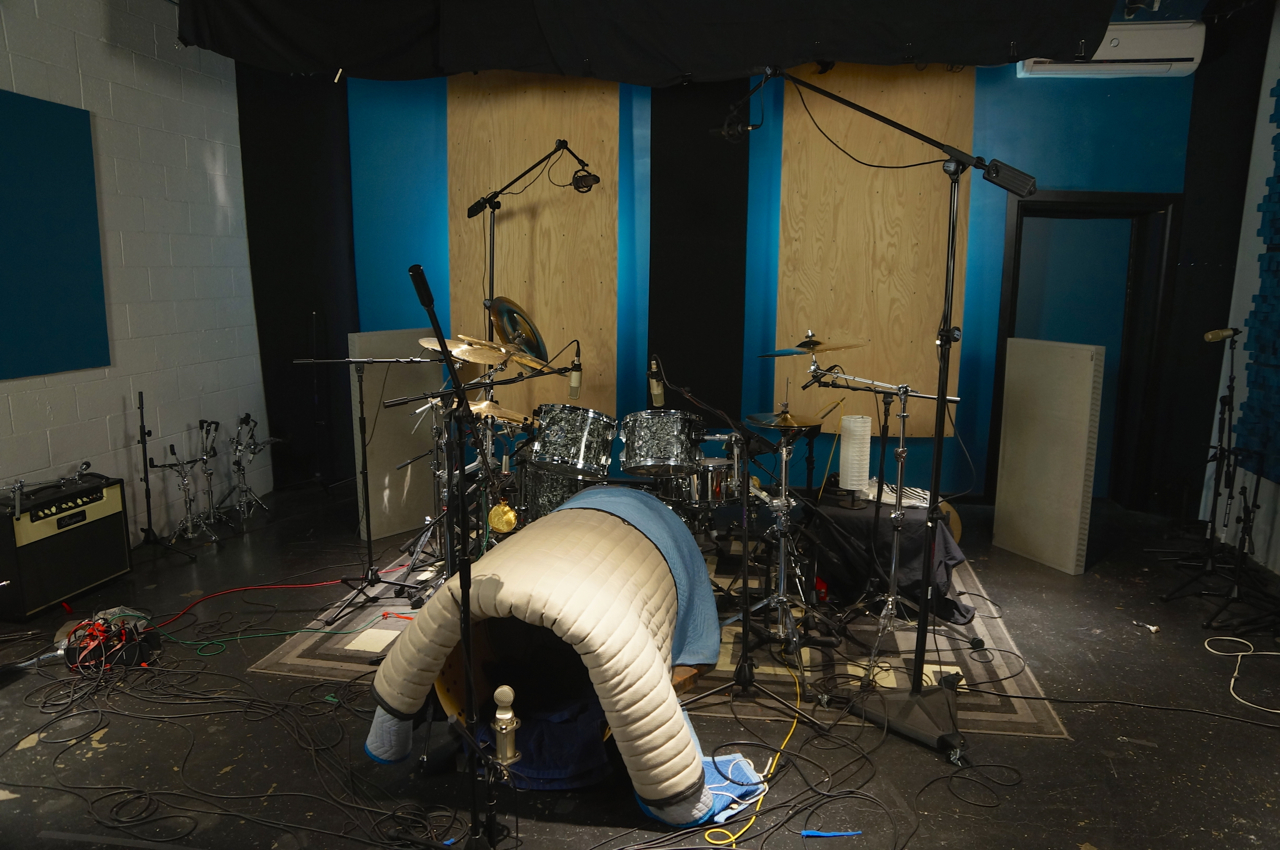
There is simply no better way to add depth, space, and sometimes excitement to your drum sounds than using room mics. Can you say Led Zeppelin?

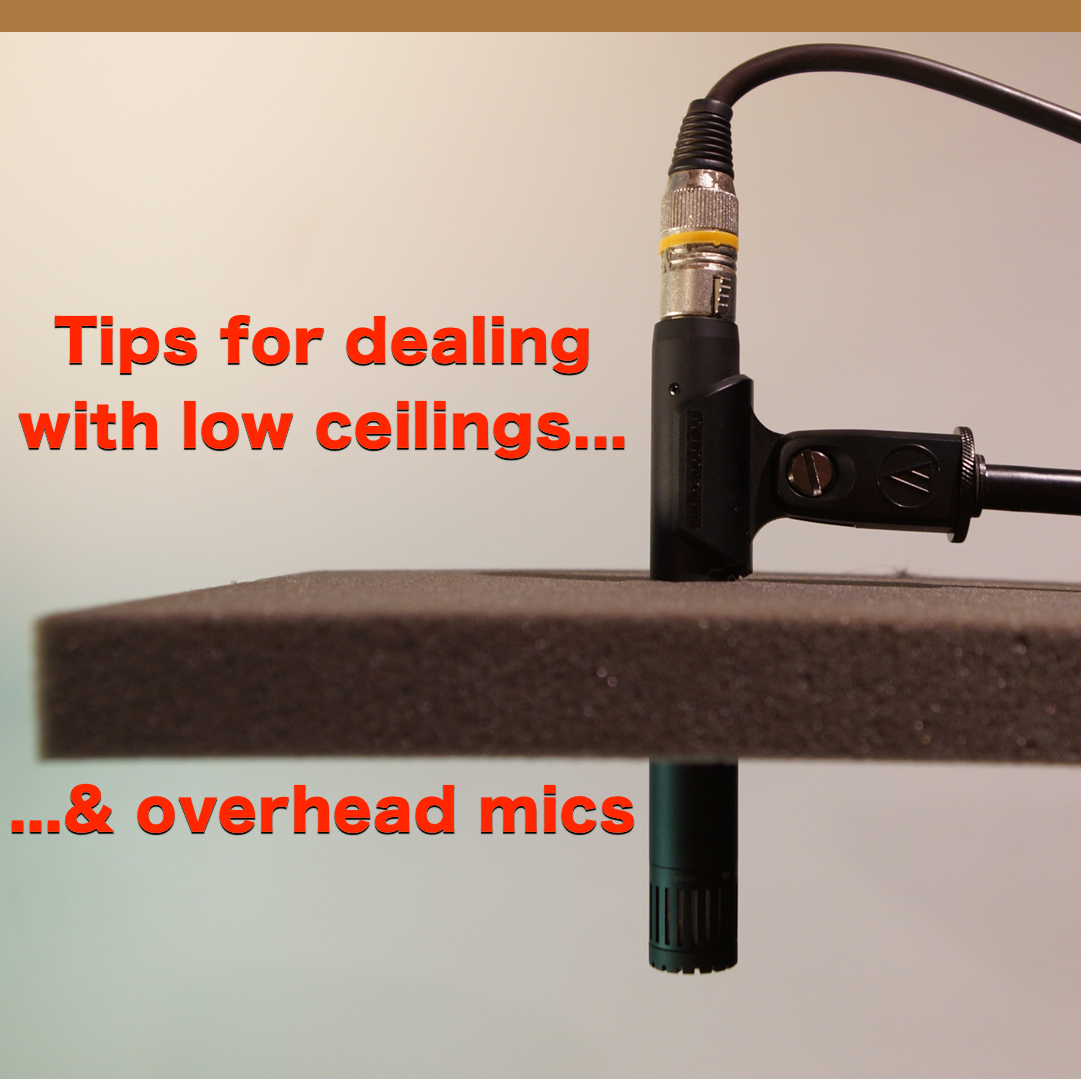
However, I realize that not everyone has the space to really explore all the cool room mic possibilities. Yes, you could use reverb to simulate a room sound and it would work nicely, but…..

There is nothing cooler, and more realistic, than the feeling of an actual mic capturing the drummers performance in the room.

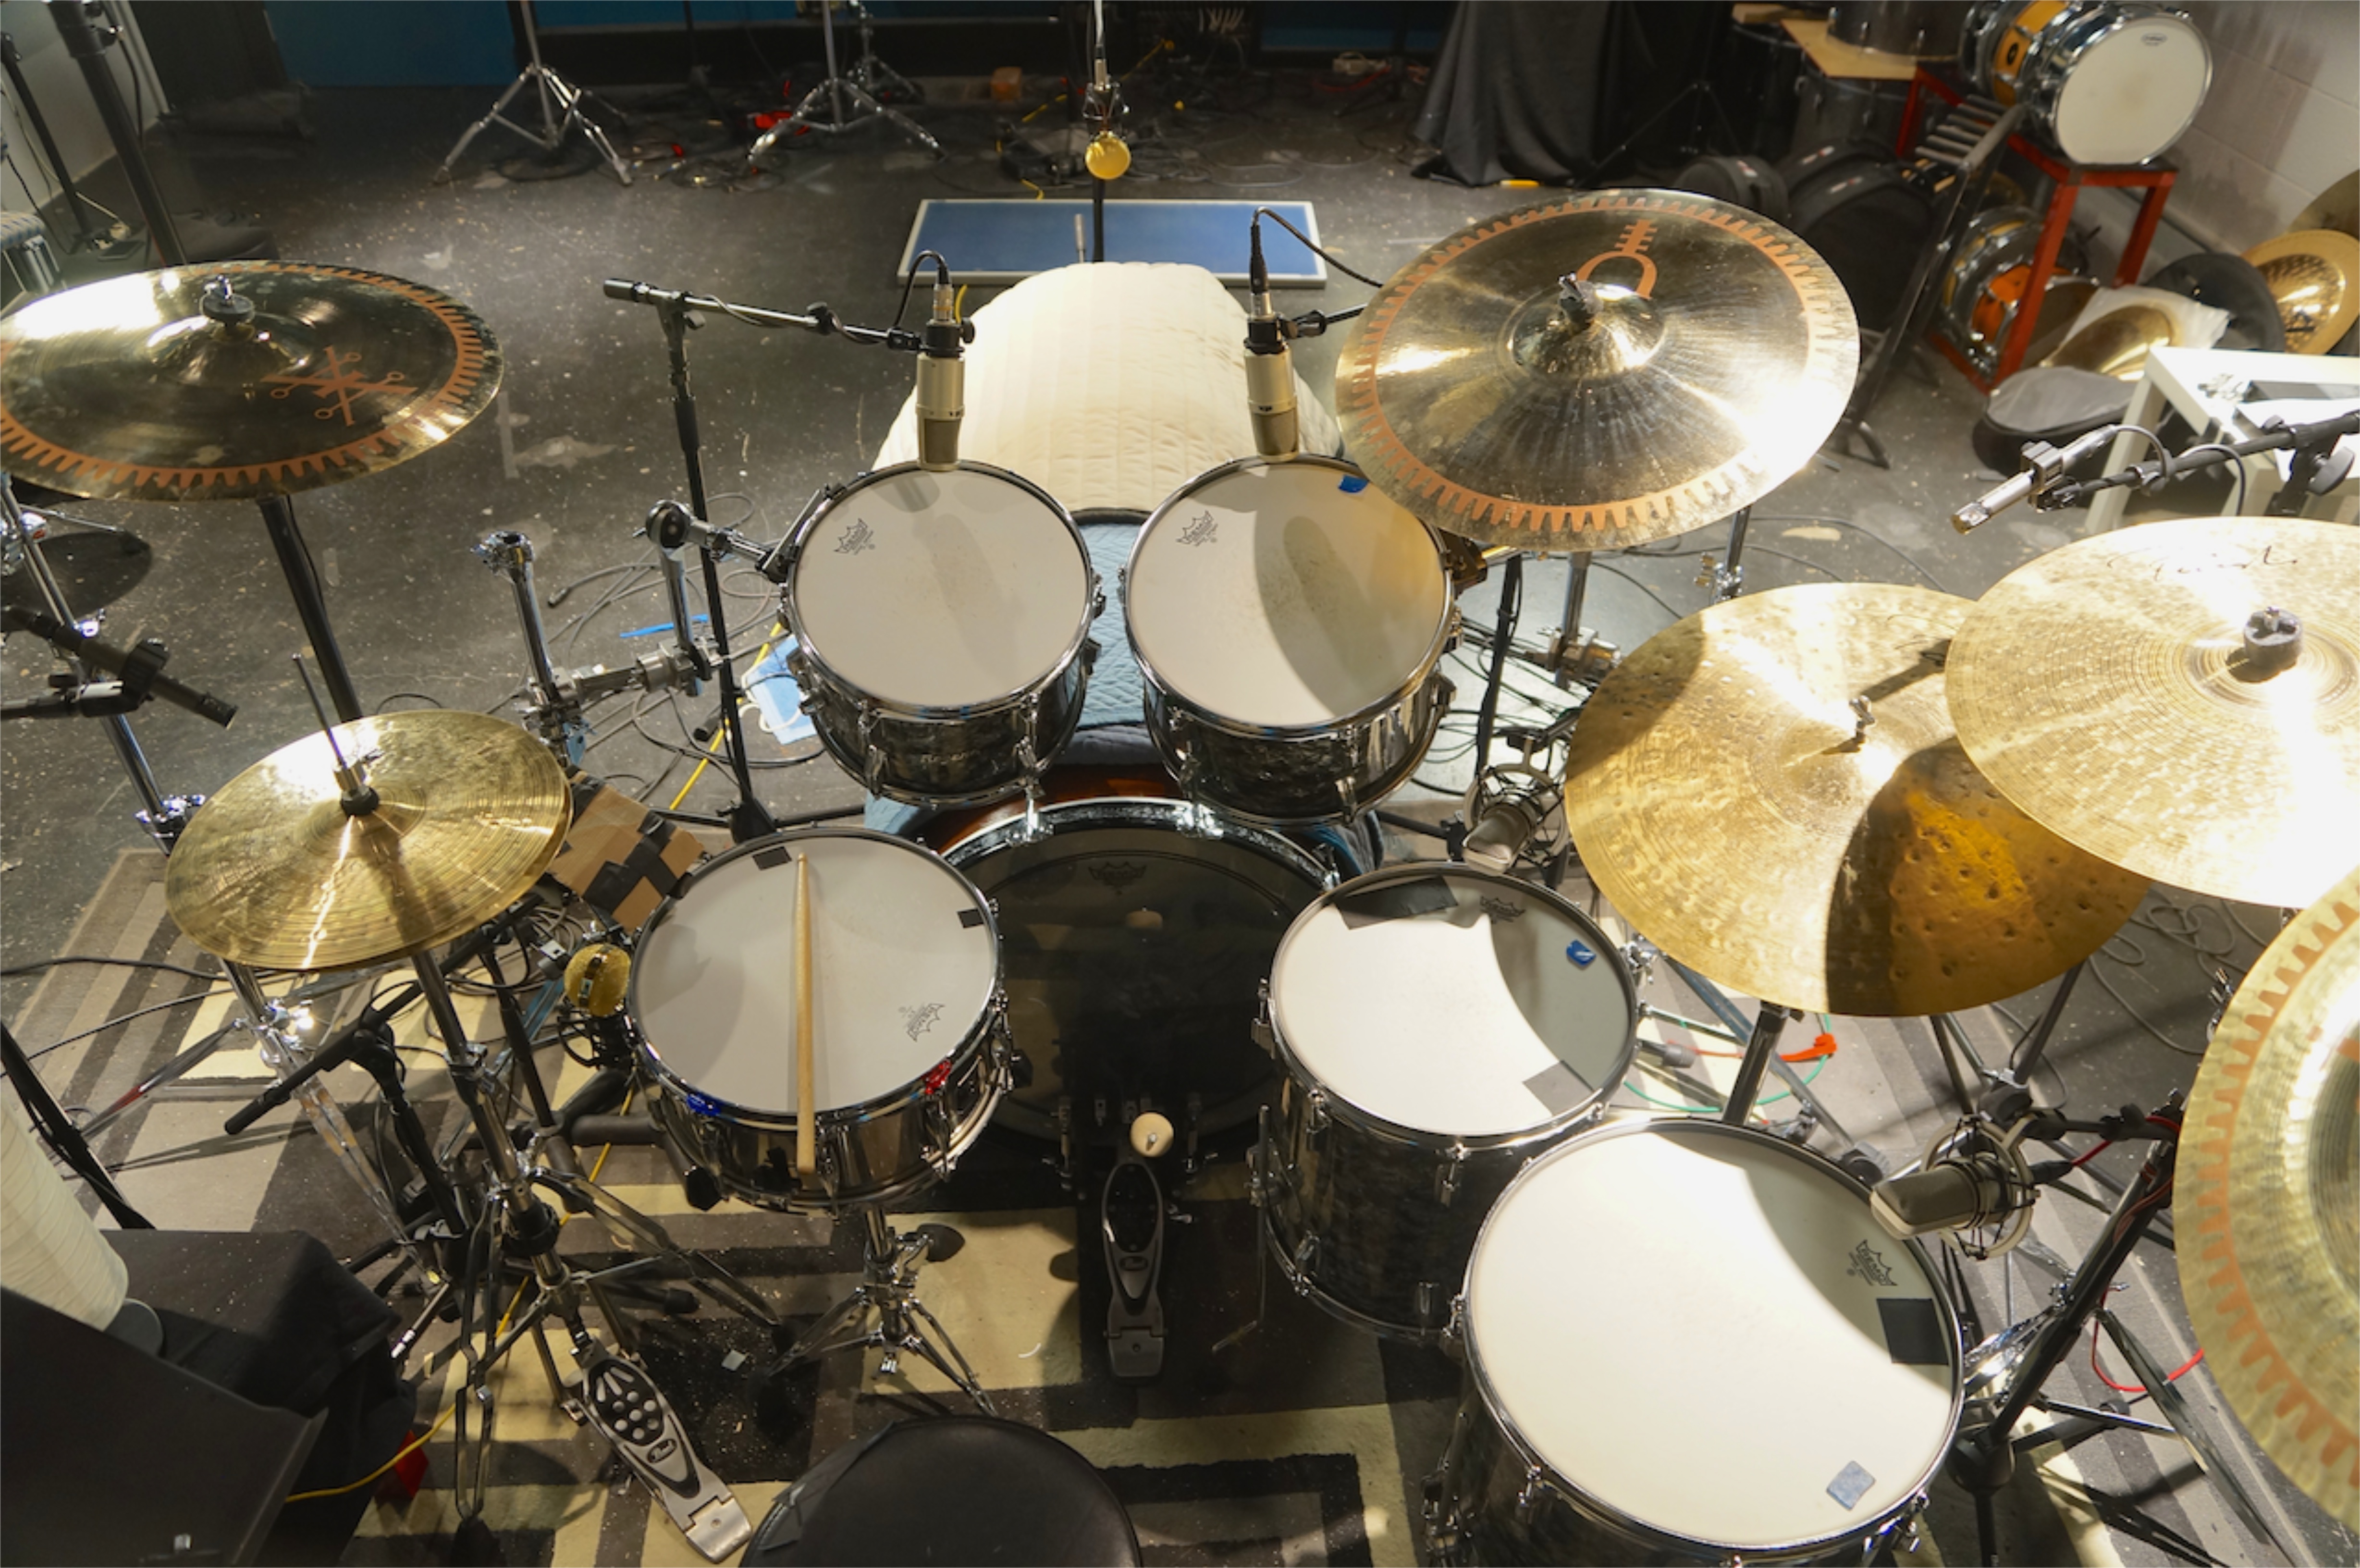
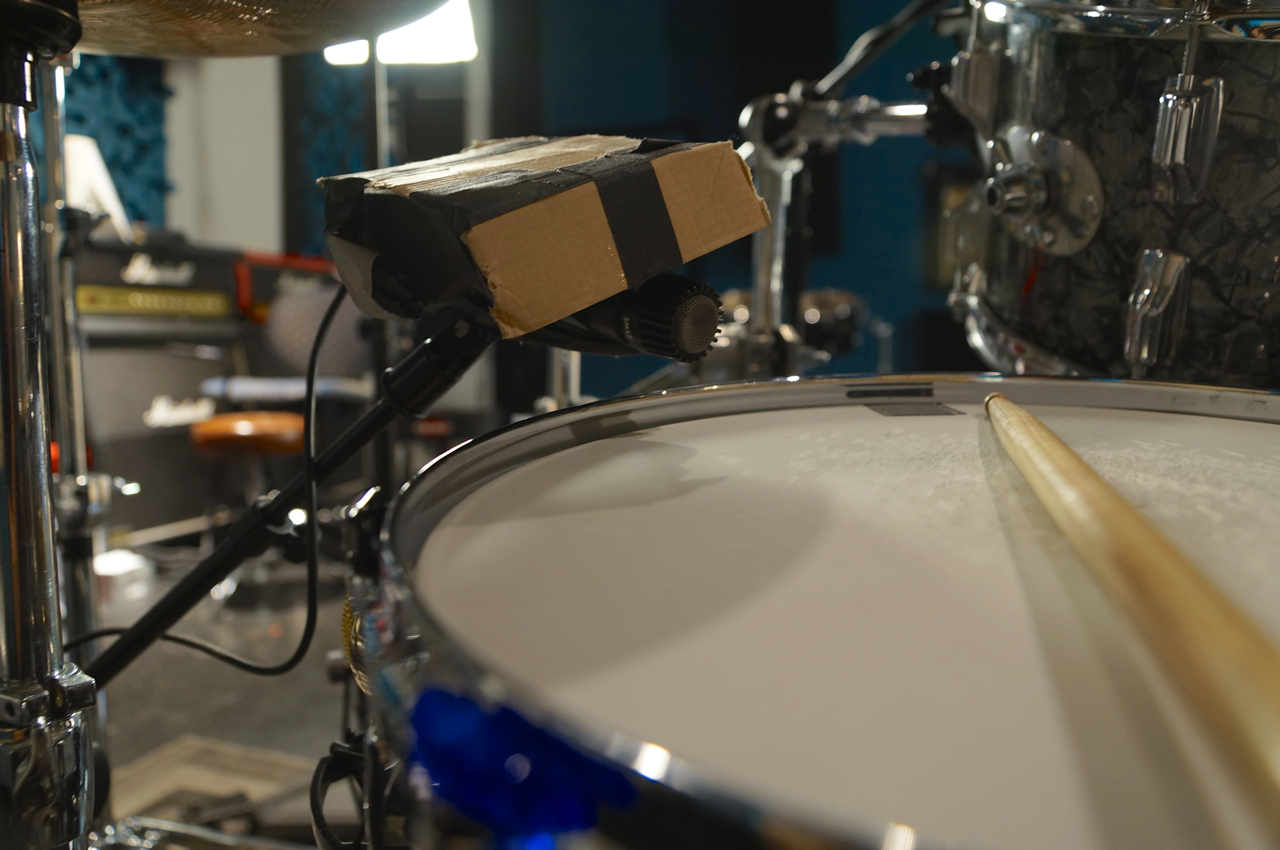
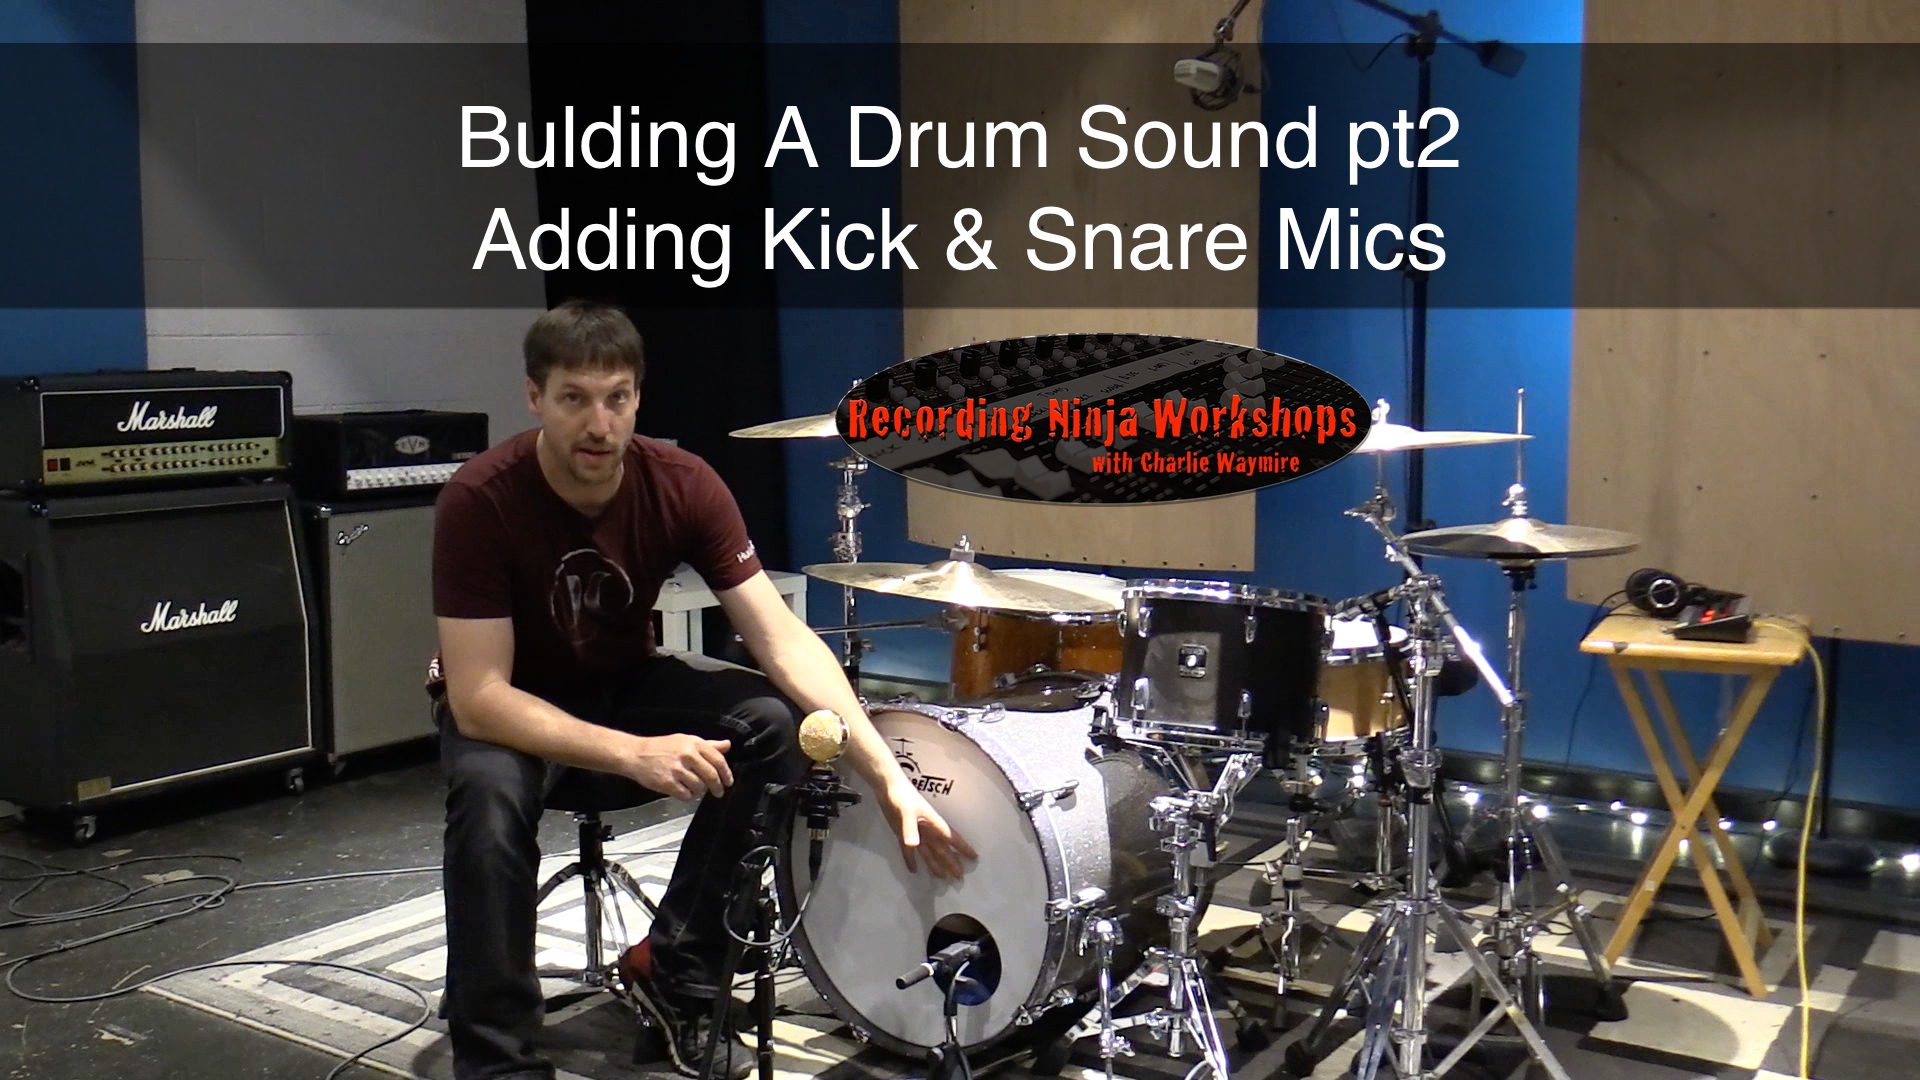
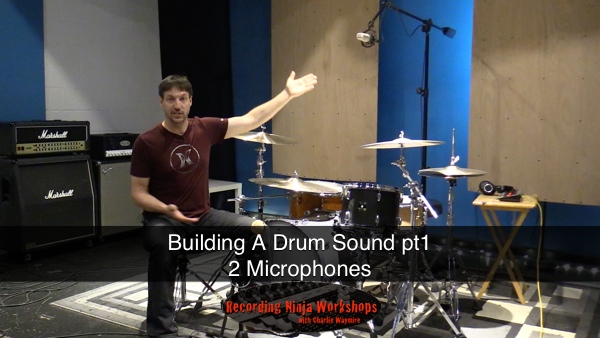
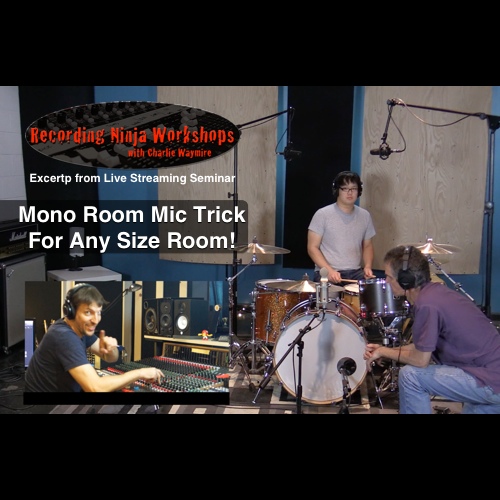
Today I want to show you a cool room mic trick that can work in ANY size room. Small or large.

On a recent Live Streaming Seminar I pulled out an old trick I used to do in my first studio that was considerably smaller than my studio now. Actually it was smaller than my current control room!

Best of all this trick used only 1 microphone so all you need is a single condenser (you could try a dynamic mic too).

So watch the video and then go grab a mic and experiment!

Happy recording!

Charlie

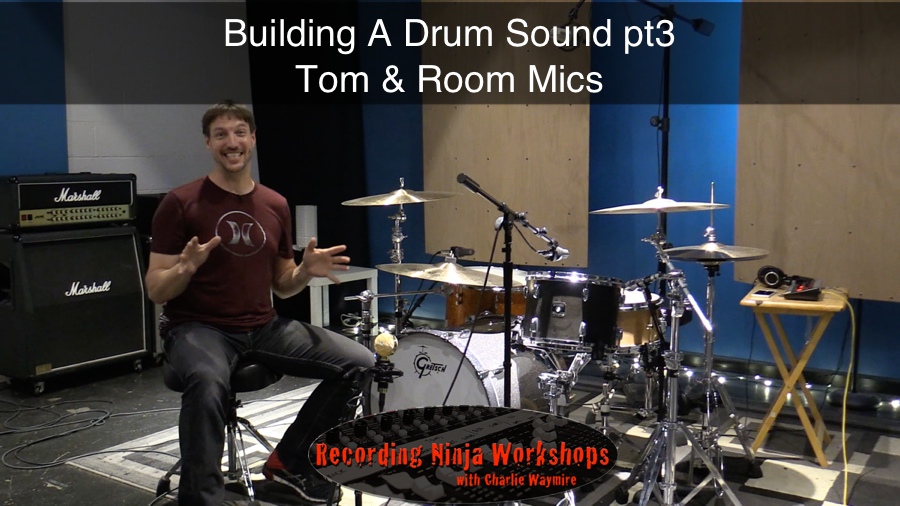
p.s. I’ll be doing a part 2 with concept soon!


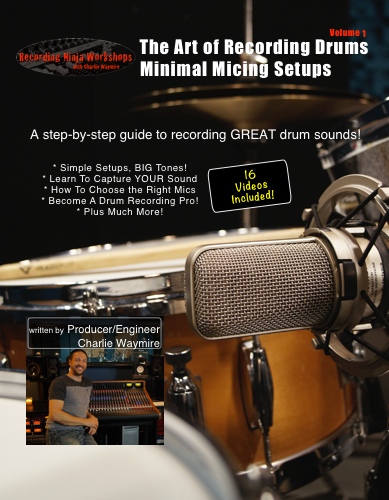
Take your drum recordings to the next level!
Get your copy today!

The Art of Recording Drums Vol. 1 by engineer/producer Charlie Waymire

Posted by Charlie in Recording Tips, Video Posts, 0 comments
Behind the Scenes with Chad Smith

Behind the Scenes with Chad Smith

Yesterday we posted video of Chad & Kevin tracking “Eagle Eye”. Today we bring behind the scenes footage from the session.

As far as sessions go it went pretty smooth. Working with professional musicians like Chad & Kevin make my job as an engineer pretty easy. Kevin and I had talked quite a bit in the weeks leading up to the session so I had a pretty good idea on what type of tones they wanted.

We decided to use a vintage Rogers Holiday kit restored by a good friend of mine Kurt Berger and drum whisperer Chris Heuer. It is a truly amazing drum set. I love all of my kits but that kit just has the “it” factor. It really is amazing.

Kevin brought his Mark Bass rig which is a piece of cake to record. Although Kevin could make any bass rig sound good the Mark Bass is bad ass.

All in all this was a really fun day in the studio. Tarja joined us via Skype from Buenos Aires and stayed on for the entire session. Once we’d get a track we would also send them an MP3 to listen to. This is one of the great ways that technology has made our lives better. It was an international session!

Tarja is a wonderful person and an amazing artist. Check the new album out at www.tarja-theshadowself.com. Links to purchase the album are below.

Anyway let’s get to the video! I’ll post a full list of the mics used and a few photos below too.

Enjoy!
Charlie


The Brightest Void
Tarja CD DigipakTarja 1LP+DownloadTarja iTunes


Microphone List

  • Kick In: MXL A55 kicker
  • Kick Out: Studio Projects CS5
  • Snare Top: SM57
  • Snare Bottom: SM57
  • Snare Side: Cascade Fathead II
  • Hats: Audio-Technica ATM450
  • Rack Toms: Heil PR30
  • Floor Toms: Audio-Technica AT4047
  • Ride: Audio-Technica ATM450
  • Overheads: Audio-Technica AT4060 Tube Mics
  • Mono Room: Cascade Knucklehead Ribbon Mic
  • Stereo Rooms: Audio-Technica AT4080 Ribbon Mics
  • Stereo Wide Rooms: Audio-Technica AE3000
  •  

    Posted by Charlie in News, Recording Tips, Tracking, Video Posts, 0 comments
    Why It’s Important To Know Your Mics!

    Why It’s Important To Know Your Mics!


    When I start preparing for a session the first thing I do is talk with the artist and find out what they are looking for sonically. We’ll talk about their music, their influences, what albums they like and I’ll ask them for references of other artists that fit their music. I’ll also talk with them about what type of recording they want and whether it’s a modern sound vs old school sound, dark or bright, etc..

    Based on their answers I start putting my tracking sheet together and make my initial decision on what my signal chain will be. My first decision is usually what microphones I’ll use to fulfill the artist’s sonic vision.

    Before the artist even arrives at the studio I’m able to make quite a few microphone decisions simply because I know my mics….really well.

    My goal is not just to record a good sound. My BIG goal is to record the “RIGHT” sound for the music. I’m able to do this because I’ve done my homework and spent time getting to know how my mics react in any situation on any source.

    So, are you getting the right sound for the music you’re recording? Check out this video to find out why it’s important to know your mics and know them well.

    Happy recording,

    Charlie

    p.s. do me a favor and leave a comment with your experiences with you microphones. What you use, your method for learning how they sound, etc. I would love to hear from you!

    Posted by Charlie in Recording Tips, 0 comments
    Building A Drum Sound pt4!

    Building A Drum Sound pt4!


    In our final installment of “Building A Drum Sound” I’m replacing the mono overhead with a stereo spaced pair.

    This isn’t your typical spaced pair however. I approach my overheads a little different than the norm. Actually I adapted this from a setup that I saw George Massneburg use. It’s not the same, but definitely inspired his setup for sure.

    This is something that is easier to explain in a video so I’m not going to try and explain it here. You will notice however that the overall drum sound will definitely open up now. We’ll actually have a real stereo image!

    I hope you’ve enjoyed this mini series on Building A Drum Sound and I always love hearing from you. Especially about your recording endeavors.

    Happy recording everyone!

    Charlie


    p.s. I’ll be conducting a drum recording master class this coming Saturday at 12pm pacific time. It will live stream from the Ultimate Studios, Inc YouTube channel.

    Hope to see you there!

    Watch Building A Drum Sound Part 1
    Watch Building A Drum Sound Part 2
    Watch Building A Drum Sound Part 3

    Posted by Charlie in Recording Tips, Tracking, 0 comments
    Building A Drum Sound pt3!

    Building A Drum Sound pt3!


    So far we’ve captured one heck of a sound with only 4 mics. It’s mono but it’s really good. It’s full, it’s big, it’s punchy. It totally works.

    For the record I love a mono drum sound. It’s tight, focused, and punchy. It also leaves a lot of room in the mix for other elements such as guitars, keys, vocals, etc..

    However, mono can become a little stagnant as far as modern music is concerned. A lot of music can really benefit from a stereo image or left/right movement from the drums.

    So I’m going to use the tom microphones for two things: Attack/presence and stereo image.

    The spot microphones on the toms will definitely help them cut by adding attack. It will also give them more clarity and a little more body.

    By panning the mics slightly to the left and right the drums will start to get a bit of a stereo image. This is a really neat setup. The grooves will be tight, focused, and centered while the fills will have left to right movement. It’s cool!!

    Enjoy “Building A Drum Sound pt3” and I’ll see you in the studio!

    All the best,

    Charlie

    View “Building A Drums Sound pt1
    View “Building A Drums Sound pt2”

    Posted by Charlie in Recording Tips, Video Posts, 0 comments
    Building A Drum Sound pt2 Is Up!

    Building A Drum Sound pt2 Is Up!


    In “Building A Drum Sound pt1” I focused on getting a complete drum sound with only 2 microphones. A mono overhead and a mic in front of the kit.

    Those 2 mics produced a very nice, full, and accurate drum sound. They work on their own but they also give us a strong foundation to build a full, modern, punchy, rock tone.

    So now that we have a strong foundation we’re going to add spot mics on the kick and snare to help give our drum sound some punch, presence, and a bit more clarity.

    With the ribbon mic supplying our low end and body of the kick, we’ll place our kick mic well inside the drum. This will help give the kick some much need punch to cut through the mix.

    Although the overhead mic captured a wonderful snare sound, adding a mic to the top of the snare will help with articulation and, like the kick, help the snare cut through the mix.

    Remember, the first two mics are really important. Without them our spot mics will sound small and lack any sense of space or depth.

    Last week I challenged you to pick two microphones from your mic locker and record the best drum sound possible. Now I want to you take those two microphones and add a mic on the kick and snare. Send me a message and let me know how it goes!

    Enjoy “Building A Drum Sound pt2” and I’ll see you next week for part 3!

    Happy recording!

    Charlie

    Posted by Charlie in Recording Tips, Video Posts, 0 comments
    Building A Drum Sound pt1

    Building A Drum Sound pt1


    “I put a mic on every drum. Why doesn’t it sound good?”

    I’m sure at some point we’ve all asked ourselves that question. I know I have! Either it just didn’t sound good or it was completely the wrong sound for the music. Building the “right” drum sound is about more than just setting up mics on all of the drums.

    The drum set isn’t a collection of different instruments. It’s one instrument made up of different pieces.

    This is a very important, and often overlooked, aspect of recording a drum sound that has body, depth, and punch. For this very reason I always get the majority of my drum sound from as few mics as possible.

    Even if I’m setting up 20 mics on a drum set the majority of my tone will come from 3-5 microphones. This is how I make sure that I’m capturing the drums as one instrument as well as getting a nice, full tone. From this point on I let the music tell me what mics I need to add to achieve a sound that works for the song.

    In part 1 of “Building A Drum Sound” I’m going to show you how to capture the drums with only 2 microphones. I’ll explain what mics I use, where I positioned them and why I chose them. Then you’ll hear those mics with our song to see how they fit.

    My challenge to you this week is to pick 2 microphones out of your mic locker and get the best drum sound possible. This is also a great way to experiment and learn how your mics sound!

    I’ll see you next Tuesday with part 2. Happy recording!

    Charlie

    Posted by Charlie in Recording Tips, 3 comments
    Behind The Scenes – Drum Recording Ninja Workshop

    Behind The Scenes – Drum Recording Ninja Workshop

    Go behind the scenes of the Drum Recording Ninja Workshops. This video is from a live Periscope broadcast and was shot just prior to our latest Drum Recording Ninja Workshop. For this workshop Charlie was joined by his FullOnDrums.com cohort Scott Francisco and drummer extraordinaire Jeff Bowders.

    The Drum Recording Ninja Workshops are for ANYONE that is interested in recording drums. Topics that are covered include tuning tips, mic types and choosing the right mics, overhead techniques, room micing techniques, minimal micing techniques, and much, much more. Our goal is to show you techniques that you can use on your very next session!

    For those of you who haven’t attended a workshop yet we would like to give you a little behind the scenes look at the setup. We have fun at these workshops and so does everyone that attends. Below are a few photos plus the input list for the workshop.

    Enjoy and we hope to see you at the next workshop!


    Posted by Charlie in News, Recording Tips, Tracking, Video Posts, 0 comments
    Recording Tip! – Overhead Mics & Low Ceilings

    Recording Tip! – Overhead Mics & Low Ceilings

    The questions I get the most are about overhead mics. What to use, where to put, them, how to angle them, etc.. I also get a lot of questions from people that have rooms with very low ceilings. Similar to the ceiling heigth of a bedroom or garage.

    There is a simple, and cheap, trick to keep the reflection off the ceiling from wrecking your overhead sound!

    Here’s a drum recording quick tip for dealing with low ceilings. Watch the video!


    Posted by Charlie in Recording Tips, Video Posts, 0 comments