Recording Ninja Workshops

Make Your Kick Drum Thump!

Make Your Kick Drum Thump!


It’s time to talk about your bottom….bottom end that is!

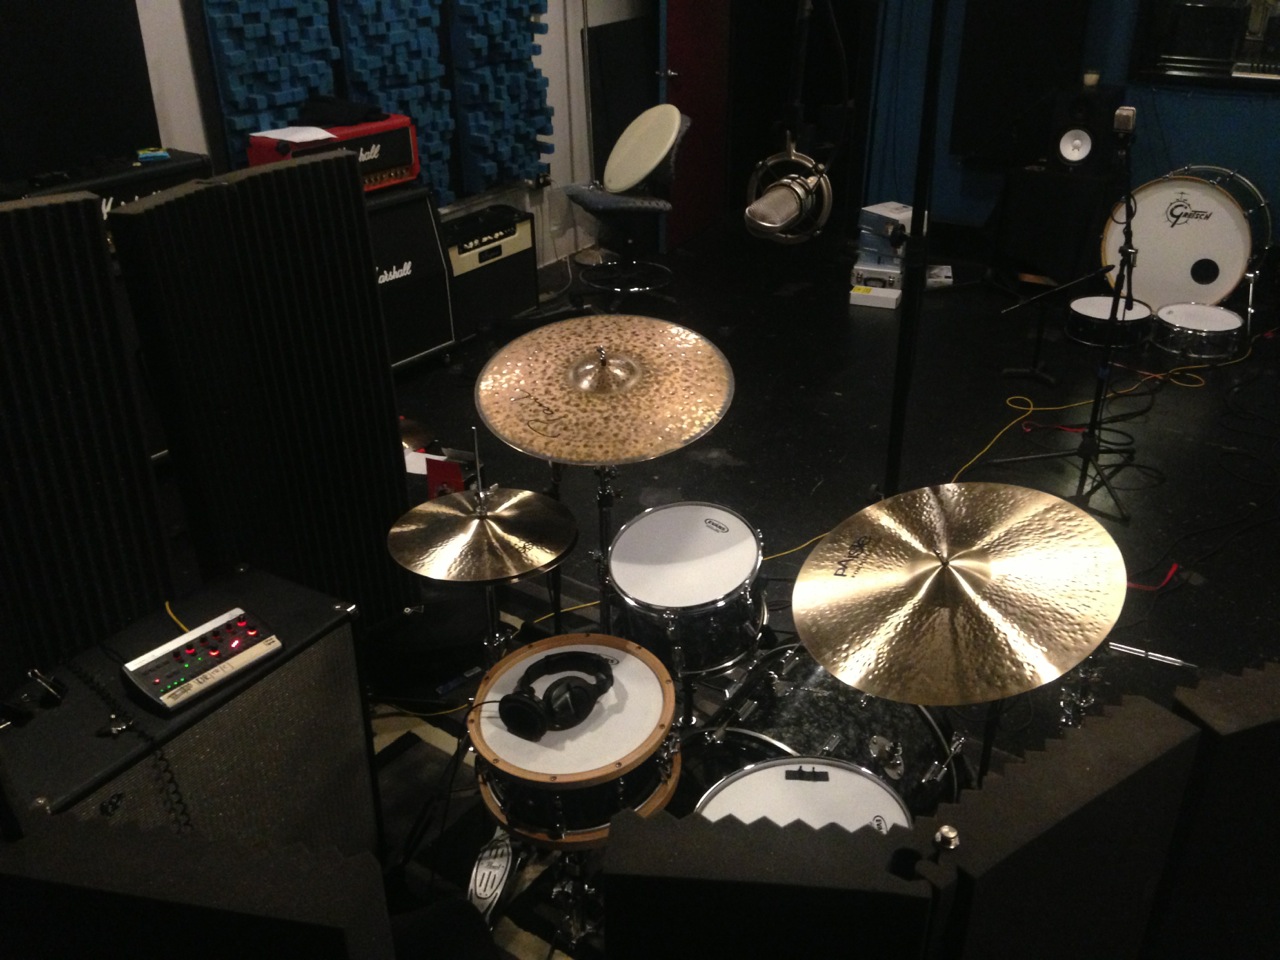
The kick and snare sound you record can really define your overall drum sound and getting it right is super important. Not just recording the kick but actually getting a sound that works for the song.

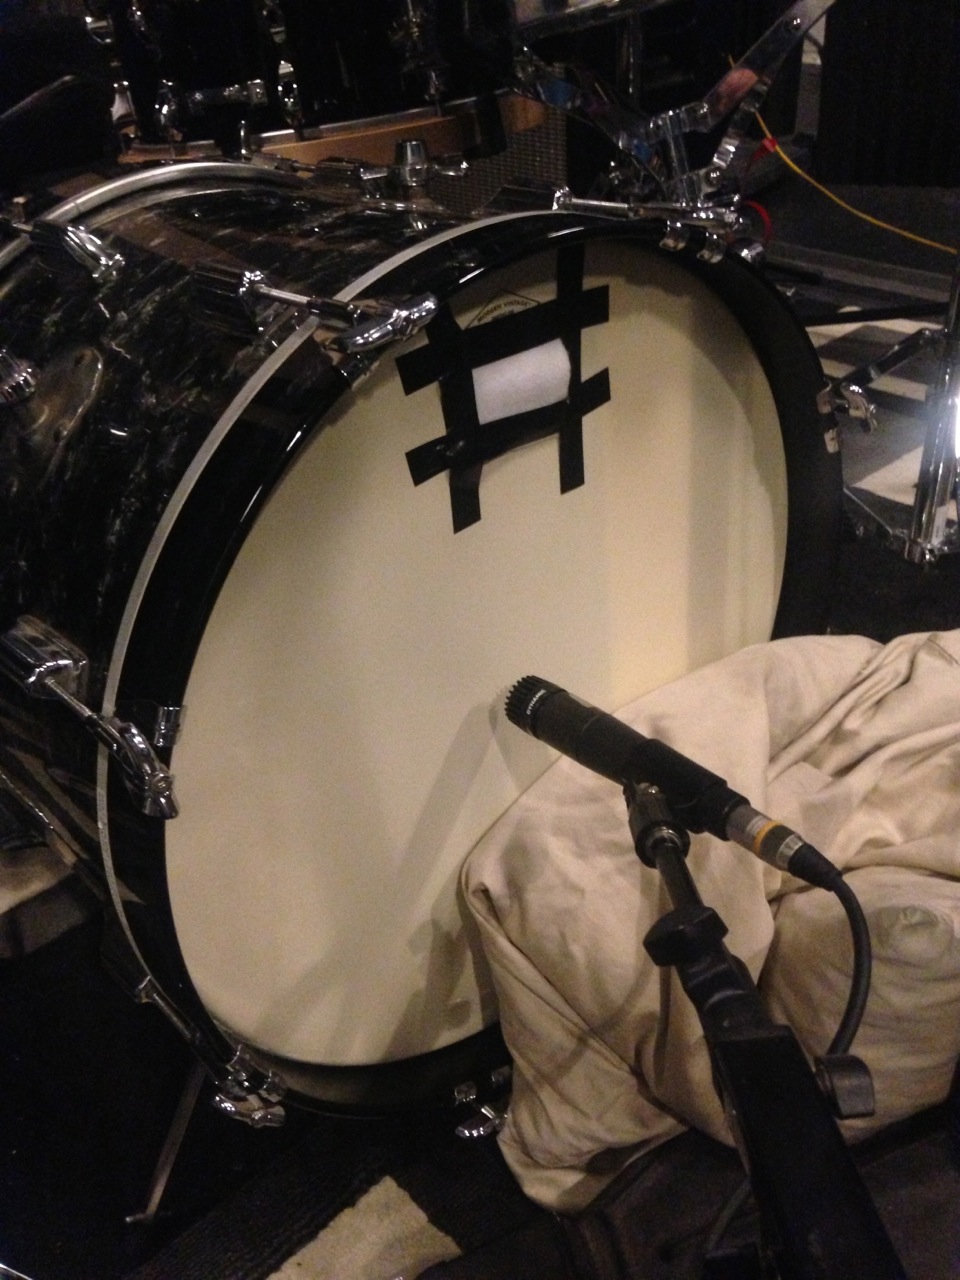
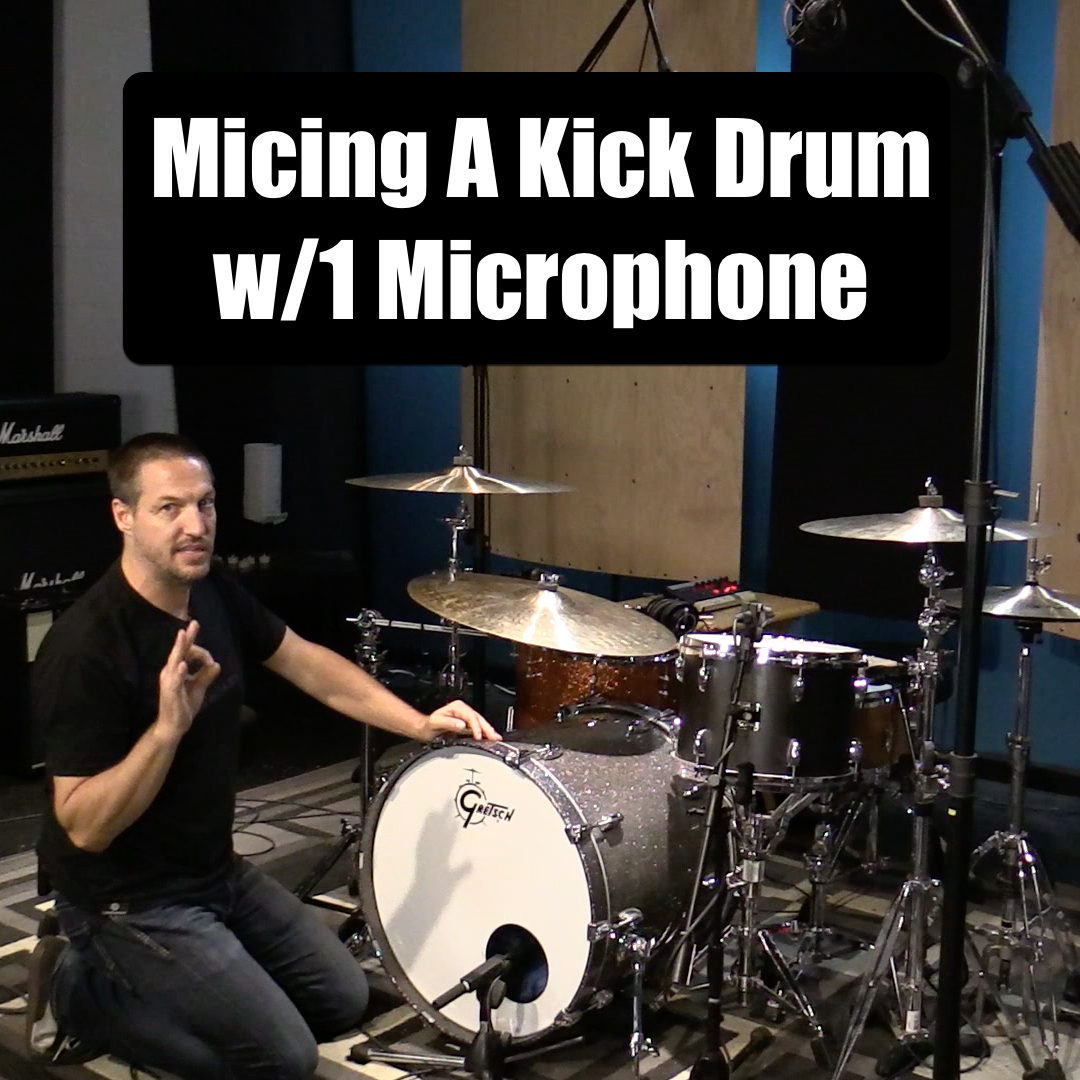
To do that we need to have a good understanding of how a microphone reacts inside the drum. I’m talking about mic placement.

Does your sound need to have more click? Does it need more low end? Does it need to be tight and focused? These are questions you need to answer BEFORE you attempt to capture your perfect kick sound.

By the way when I’m talking about “click” and “low end” I’m not talking about using eq. I’m referring to mic placement and getting that as right as possible and then utilizing eq. If you take the time to get the mic placement to capture the most sound possible then using eq with make that even better.

If you rely on eq to make up for bad mic placement you will often end up with a less than optimal kick drum sound.

Bottom line is it’s best to take some time to experiment with the mics that you own to learn how they capture the kick. I promise you the more you know about your mics the better support your kick drum will be for your music.

Anyway enough of me blabbing! Let’s get to the video.

Happy recording,
Charlie

Posted by Charlie in Recording Ninja Workshops, Recording Tips, Video Posts, 1 comment
Recording Overheads PT3: X/Y

Recording Overheads PT3: X/Y

Up to this point we’ve talked a lot about recording with a mono overhead. In PT3 I want to step into the early 1930’s with a stereo pair of overheads! (here’s a cool link about Alan Blumlein. The man that invented stereo)

I’m starting out with a very popular coincident micing technique called X/Y.

X/Y consists of two, preferably matching, cardioid microphones at a 90° angle with the elements as close together as possible. This doesn’t produce a very wide stereo image but it is accurate, phase coherent, and collapses to mono well. It’s also easy to setup. In most cases you can mount the two microphones on a single stand using stereo bar.

I have a kick and snare mic on the kit as well so you can here how this setup works in context with other microphones.

Happy recording,
Charlie

If you missed parts 1 or 2 you can see them here:

Recording Overheads PT1: Mono
Recording Overheads PT2: Different Mic Types


Posted by Charlie in Recording Ninja Workshops, Recording Tips, Video Posts, 0 comments
Recording Overheads PT2: Different Mic Types

Recording Overheads PT2: Different Mic Types

In PT1 of Recording Overheads I talked about using a single, mono, mic to record a great overhead sound. In PT2 I want to demonstrate how you can use different mic types to capture just the sound your music needs.

I picked 3 mics; a large diaphragm condenser (AT4047), small diaphragm condenser (AKG451b), and a ribbon mic (AT4080). Each of these mics have unique characteristics and can be used to manipulate your drum sound to fit your music. Although there are many different mics to be purchased to record drums I highly recommend having a couple options for overhead choices.

Changing the overhead mics can have the single biggest impact on your drum sound.

Sure kick mics will make a difference, snare mics to a lesser degree, and even room mics can have a big effect. None of them come close to capturing as much pure, overall, tone as the overheads. Kick and snare are spot mics and the rooms are effected by, well, the room.

I’m not trying to say the other mics on the kit aren’t important because they are. All I’m saying is that you can completely alter your entire drum sound with different overhead mics and it’s worth having a couple options.

The point of this video is to give you an idea of what 3 common mics types sound like on overheads.

What mics are you using for overheads?

Happy recording,
Charlie


Posted by Charlie in Recording Ninja Workshops, Recording Tips, Video Posts, 0 comments
Recording Overheads PT1: Mono

Recording Overheads PT1: Mono

If you’ve followed my recording videos then you know I’m a HUGE proponent of using overhead mics to capture the majority (or at least a large part) of your drum sound. I talk about it all the time…..and now I’m going to talk about it more! 🙂

Over the next couple of weeks I will cover 3 or 4 different techniques for recording overheads starting with mono!

I think using a mono overhead mic gets overlooked all too often. It’s such an effective way to capture a good drum sound. Plus there are other ways to capture a stereo image…but that’s for another video.

In this video we’ll take a look at how the height and placement of the microphone effects your sound.

Check back soon for PT2!

Happy recording,
Charlie


Posted by Charlie in Recording Ninja Workshops, Recording Tips, Video Posts, 0 comments
Recording the Perfect Track w/Tim Pedersen

Recording the Perfect Track w/Tim Pedersen


A couple of weeks ago I had the honor of Tim Pedersen joining me on the Recording Ninja Workshop Live Broadcast. Tim has been one of my musical mentors since I moved to LA. Recently I had the opportunity to work with him on mixing and a little re-recording on an EP for another great friend of mine Tita Hutchison.

We covered a lot of great info about how we recorded the drums AFTER we had a mix finished. This video is a 10 minute excerpt from that broadcast.

Drums are usually the first instrument to be tracked…and usually quite quickly. Then all the other instruments get to take their time building their parts and sounds on top of the drum tracks.

Every once in a while that process gets flipped around and the drums go on last.

That’s exactly what happened for Tita Hutchison’s song “Frost” off of her debut EP “Hello Love“.

We were already deep in the mixing process when we decided that “Frost” needed drums. The song just didn’t feel quite finished and lacked some movement in it’s current arrangement. Since our mix was pretty much done it allowed up to really take some time designing a drum sound that would help move the song along.

Tim and I spent a total of about 12 days mixing (all in a row!) and took an entire day to track just drums. It was a really fantastic time. Tim had the idea of giving the drums an old school, vintage vibe. Which is exactly what the song needed.

After spending most of the day experimenting with sounds, mic placement, eq, and compression, we landed on something that we were really proud of. It’s a sound that we really felt fit the song and helped move it along.

Anyway enough of me talking about it. Enjoy this excerpt from our Recording Ninja Workshop Live Broadcast.

Happy recording!
Charlie


Enjoy some photos!

Posted by Charlie in Recording Ninja Workshops, Recording Tips, Video Posts, 0 comments
Minimal Micing Concepts: Recorderman

Minimal Micing Concepts: Recorderman


A good minimal micing setup can help you achieve fantastic results with only a few channels. It can also capture a wonderful, organic, sound no matter how many channels you have. There are quite a few minimal micing setups and, depending on your situation, all of them are useful. Today I would like to cover the very effective Recorderman setup.

The Recorderman setup uses only 2 microphones. One directly over the snare,aimed directly at the snare, and another over the should of the drummer also aimed at the center of the snare. Each mic should be roughly 2 drumstick lengths away from the snare. Of course the height can be adjusted to accommodate the drummer. I have also added a kick drum mic to help capture a good solid bottom end for our simple setup.

Personally I find the Recorderman a little uncomfortable as a player. It’s a very intrusive configuration so once we demonstrate the basic setup we move the mics a little higher to see if the sound changes at all.

Enjoy this setup. Next month we’ll look at another minimal micing configuration.

Happy recording!
Charlie

Subscribe to the YouTube Channel!

Posted by Charlie in Recording Ninja Workshops, Recording Tips, 0 comments
Stereo Room Micing Techniques: Mid/Side

Stereo Room Micing Techniques: Mid/Side


We’ve been on a room micing kick lately and I want to finish it off with one of my favorite configurations.

The Mid/Side configuration!

Mid/Side is extremely versatile. First off the “mid” mic is actually a great mono room mic. If all else fails you’ll end up with a nice sounding mono room mic.

But for those of us that want some control over the width of our rooms Mid/Side does it the best. By simply adding more or less of the center (mid) channel you can make your room sound very centered (mono) or wide.

Ok enough of me talking. The best way to show you this great technique is to do a demonstration. I promise it will make more sense.

This configuration works in rooms small and large. Give it a shot and let me know how it works for your!

Happy recording,
Charlie


Watch Part 1 of this series: Stereo Room Micing Techniques – Blumlein
Watch Part 2 of this series: Compressing your room mics

Posted by Charlie in Recording Ninja Workshops, 0 comments
Compressing Your Room Mics

Compressing Your Room Mics


Compression has a lot of uses but arguably none more fun than drum room mics. Adding subtle compression to your room mics can add just a touch of excitement while adding tons of compression can completely take your overall drum sound to the next level.

In this excerpt from the stereo room Live Broadcast Seminar a few weeks ago I want to demonstrate just how compression can effect your overall drum sound. I’m doing it with hardware but you can do it with a plugin in your DAW too.

The big thing to remember is there is no one way to do this. You’ll need to experiment but above all LISTEN TO YOUR MUSIC and do what it requires. Using compression is a ton of fun but it is easy to overdue it.

Happy recording!

Charlie


Watch part 1 of this series: Recording Rooms with the Blumlein Configuration

Posted by Charlie in Recording Ninja Workshops, Recording Tips, 0 comments
Stereo Room Micing Techniques: Blumlein

Stereo Room Micing Techniques: Blumlein


There are a lot of ways to capture drum room sounds but none more effective than the Blumlein configuration.

While there are microphones specifically designed to be in a Blumlein configuration you can easily create this setup with 2 Figure 8 microphones. In this video I’m using two Studio Projects CS5 multi-pattern microphones, set to Figure 8, and placed right on top of each other.

The Blumlein configuration captures a very nice stereo image and works well in any size room, small to large. Give this great setup a try and let me know how it works for you!

Happy recording!
Charlie

Check out the USI Music Production Page for much more great info!

Posted by Charlie in Recording Ninja Workshops, Recording Tips, 1 comment
The Sonic Killer…..Phase!

The Sonic Killer…..Phase!

If there is one simple thing you can do to make your recordings better, it’s checking your phase relationships between each of your microphones!

It seems like such a simple task yet I hear recording after recording that has obvious phase issues. On drums maybe it’s the overheads are out of phase, or the outside kick mic, or it could be a multitude of problems with a multiple mic setup. With guitars phase issues usually occur when using 2 mics that aren’t lined up properly (I’m not talking about a phase pedal or effect).

Phase cancellation. happens when one sound hits two mics at different times. When you are likely to get some degree of phase cancellation. Meaning the source will lack body and sound thin. It will also be somewhat quieter. Guitar players that have used phase pedals are familiar with this. When used correctly it can be a very cool effect but that’s not what we’re talking about here.

On drums phase issues will absolutely ruin your tone. Kick drums will lack punch and bottom end, snares will sound thin, and cymbals can sound harsh….and no amount of eq will fix it. Fortunately it’s easy to check if you know what to listen for.

Phase kills tone fast and for some reason I’m hearing this issue a lot lately. I’ve come to think, that for some reason, a lot of people must not know what to listen for so I decided to tackle this subject in a recent Recording Ninja Workshop Live Broadcast Seminar. We setup a simple drum kit and simple guitar setup to demonstrate the effect of phase relationships between multiple mics and how, if left unchecked, they can destroy your tone.

For an excellent, detailed, explanation of phase check out this article from Sound On Sound.

I’ve pulled two different clips from the “It’s All About Phase” Live Broadcast. One focusing on drums and one focusing on guitars. These two videos should help show you what to listen for when checking for phase issues during your next recording.

Happy, phase correct, recording!

Charlie


Posted by Charlie in Recording Ninja Workshops, Video Posts, 0 comments