how to record drums

Drum Room Miking – Using The Wall!

Drum Room Miking – Using The Wall!

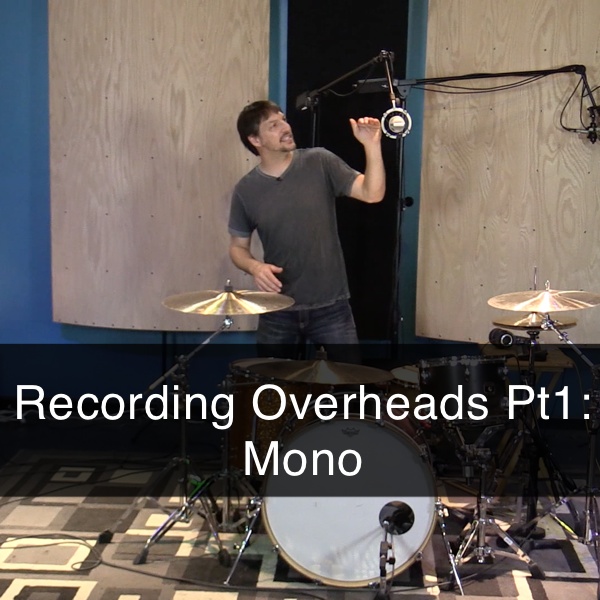
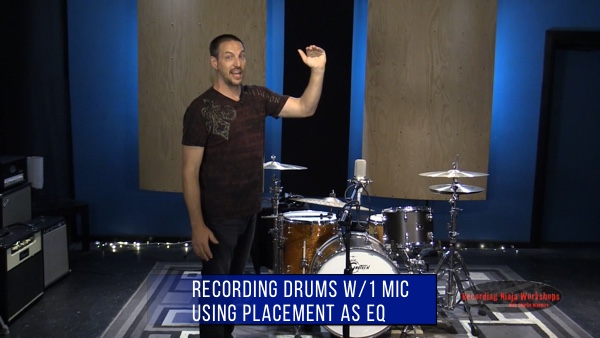
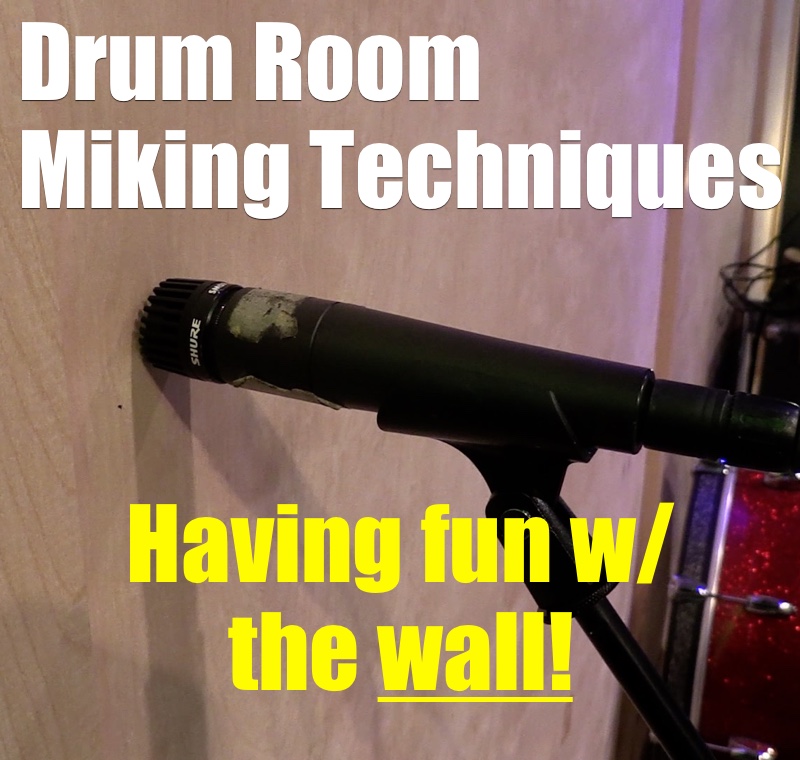
Using a wall for Drum Room Miking

I LOVE experimenting with drum room miking. I also love finding techniques that can work in any room, provide some extra vibe and give me extra options during mix down. That to me is a win win!

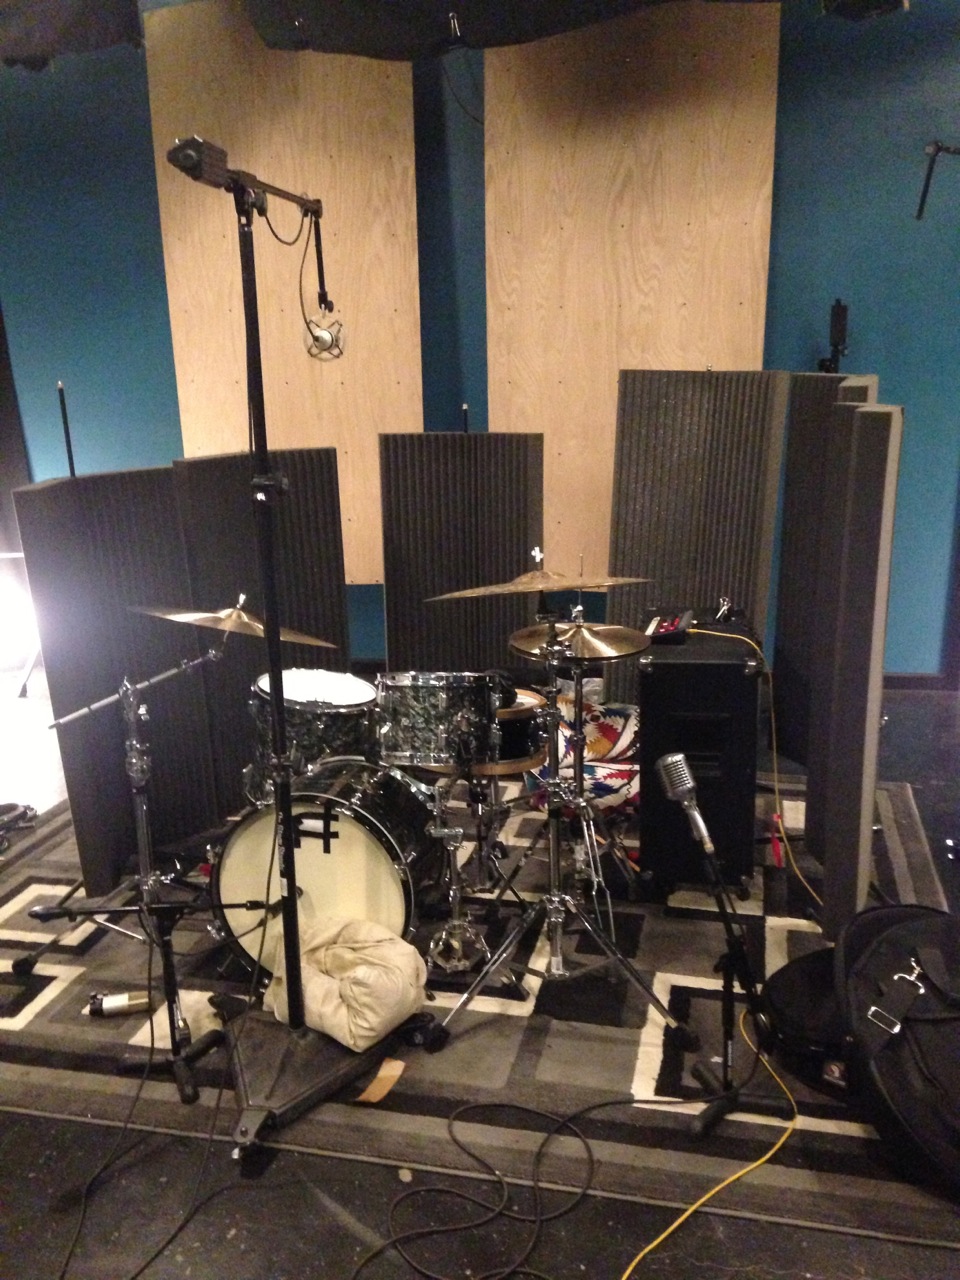
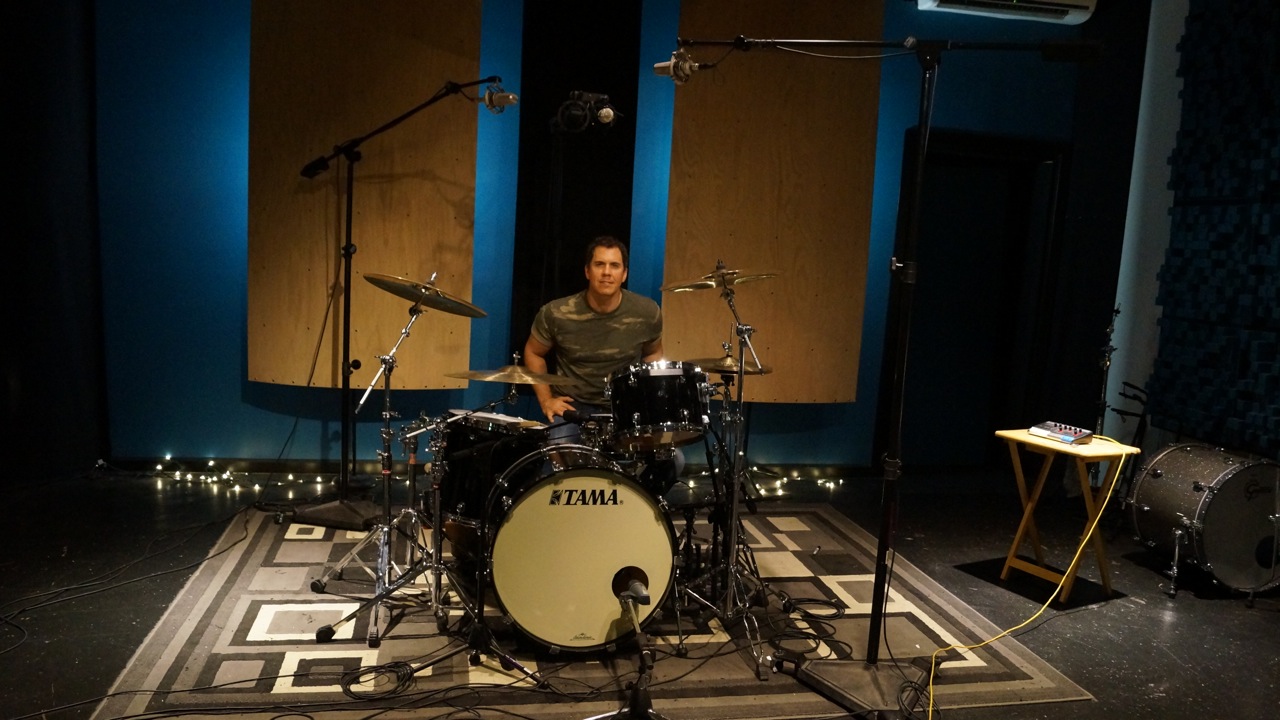
In our last window we used an amp to create a vibey room sound but in this video we’ll use a wall!

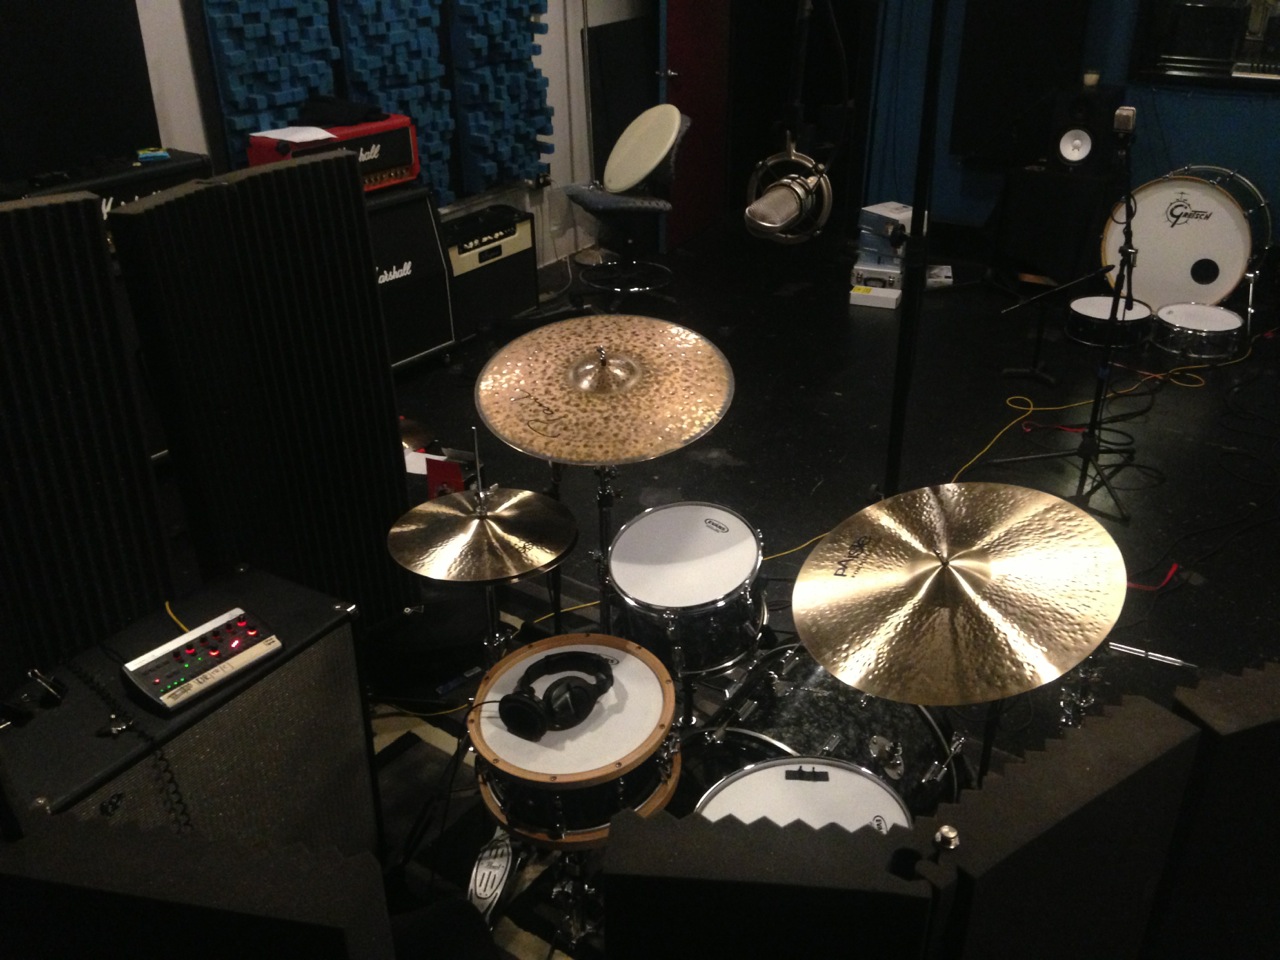
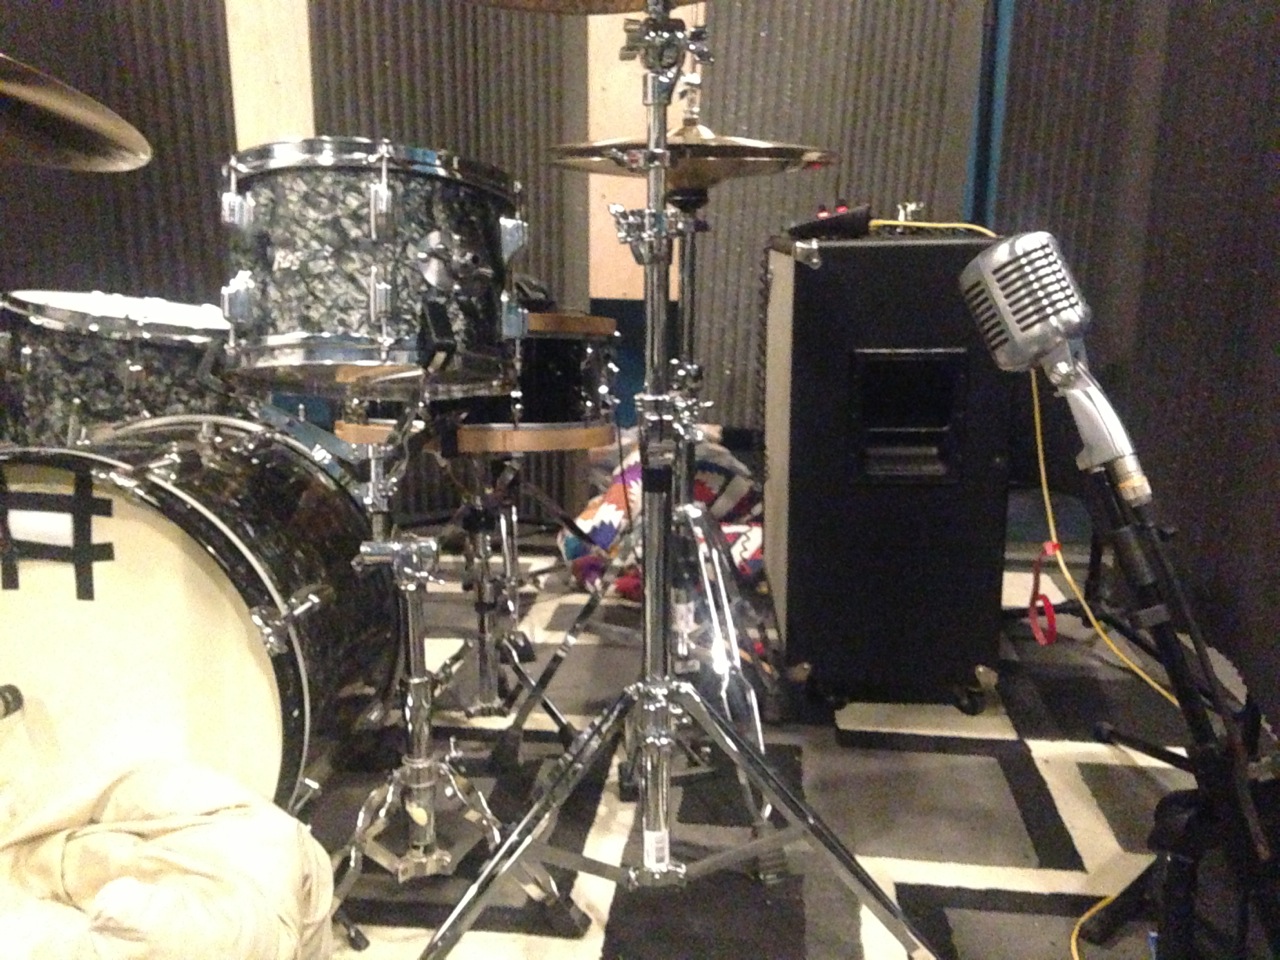
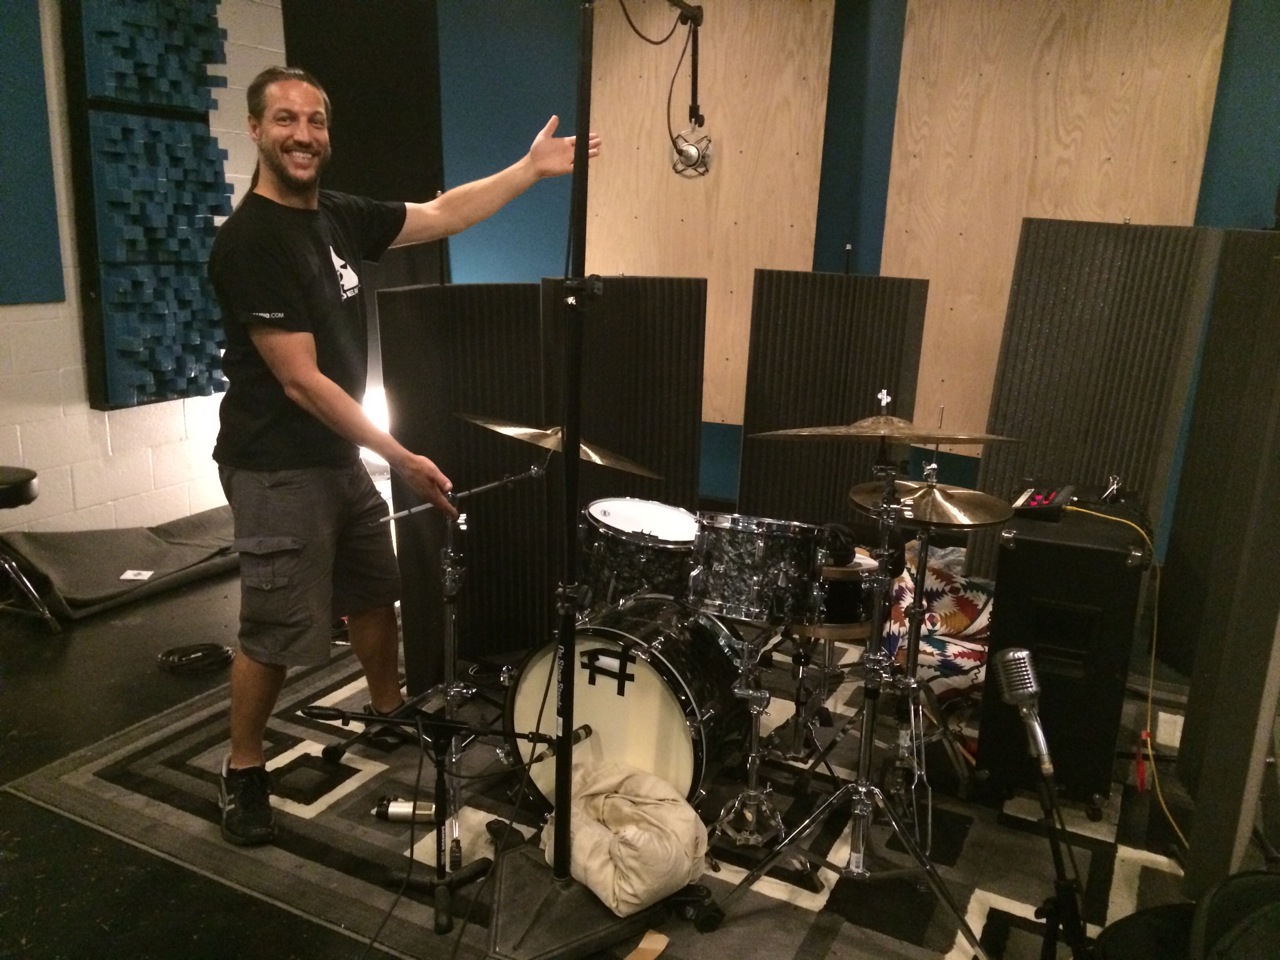
One technique (or trick if you will) that I have used for a long, long time is miking the wall. Yes, miking the wall!

how to get a drum room sound - recording studio los angeles

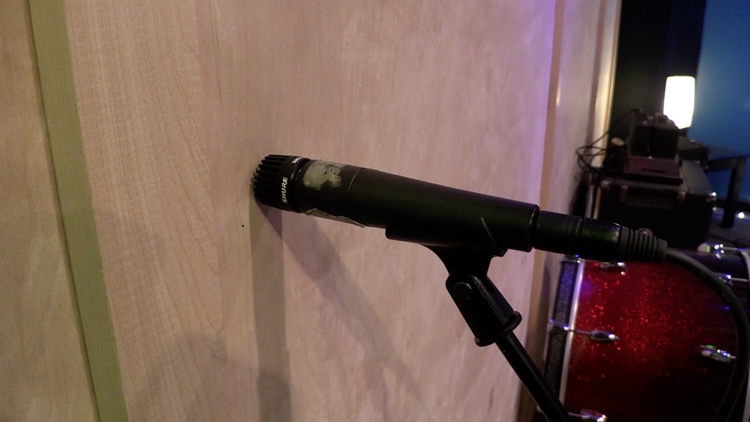
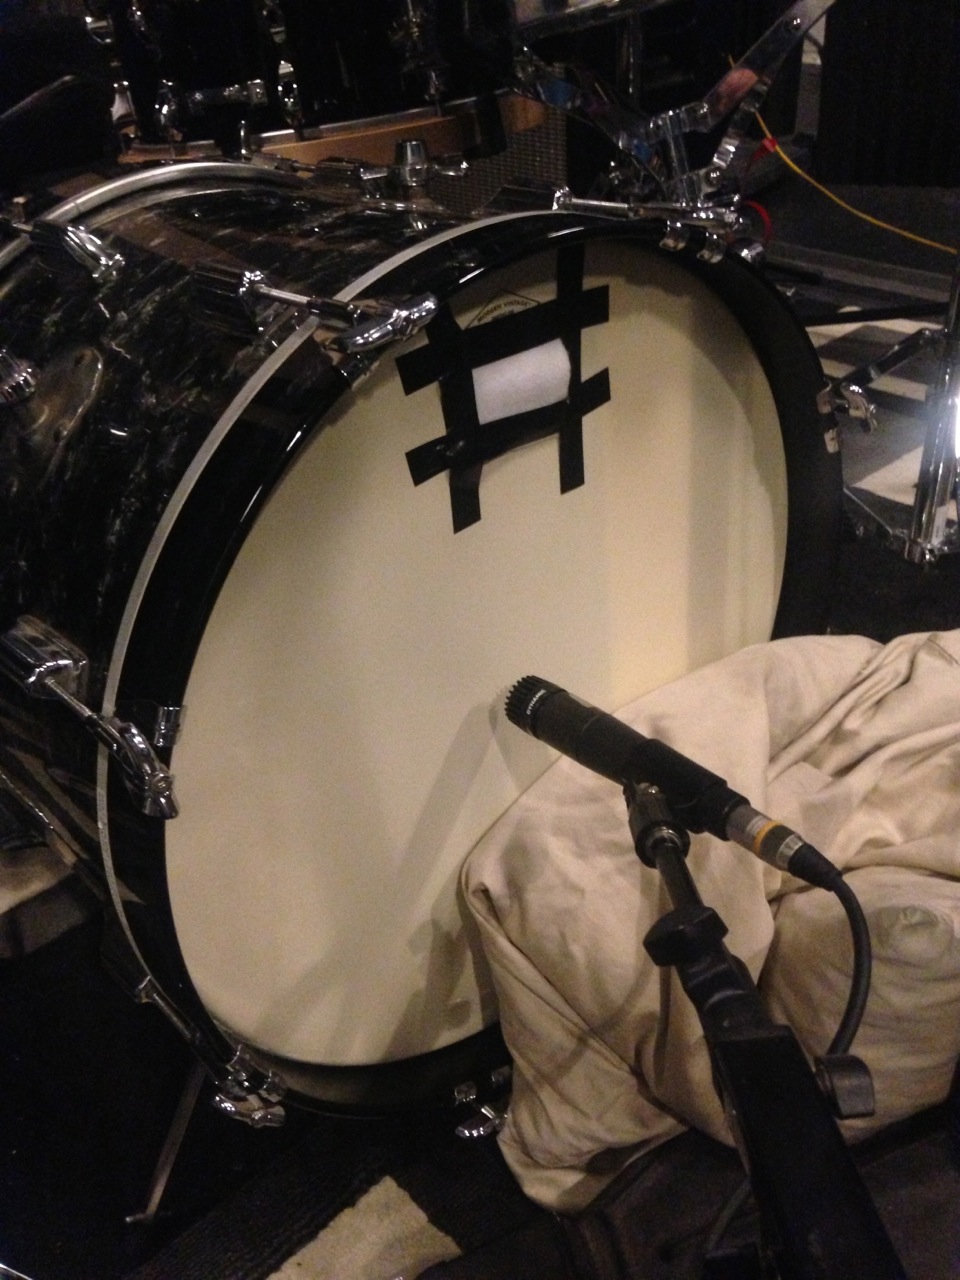
My mic of choice for this is the ubiquitous SM57 and by placing the mic as close to the wall as possible, so a business card can barely fit between the wall and the mic, the 57 is turned into a boundary mic. The 57 is already filtered on the top and bottom by nature and the wall tends to add to that.

I like this because that can help soften the cymbals a little as well as smearing the transient in a really cool way. This is what allowed me to get a “room sound” in my old studio that was pretty small and didn’t actually sound great. Add a little compression and you can get some real excitement out of this one microphone!

Now every room is different. As always I highly recommend experimenting in your room to find the best placement. And don’t forget the floor is a wall too!

Check out the video below and let me know how this works for you!

Happy recording!
Charlie


Ultimate Studios, Inc is a full service recording studio, mixing studio and band development resource located in Los Angeles, CA.
Panorama City, CA 91402

Bring Your Music To Life


recording studio los angeles, north hollywood, van nuys,
recording, mixing, mastering, video production, web development, SEO, rock recording studio

https://www.instagram.com/ultimatestudiosinc/
http://www.Facebook.com/ultimatestudiosinc
Twitter: URStudioinc

We believe EVERYONE deserves great sounding music!
Ultimate Studios, Inc is a boutique production facility for artists and bands to collaborate, create, and record.

Led by Producer/Engineer Charlie Waymire, our team assists artists through the entire creative process including recording, mixing, mastering, and video production.

Posted by Charlie in Charlie's Big Mouth Blog Entries!, Recording Ninja Workshops, Recording Tips, Video Posts, 0 comments
Recording Overheads PT1: Mono

Recording Overheads PT1: Mono

If you’ve followed my recording videos then you know I’m a HUGE proponent of using overhead mics to capture the majority (or at least a large part) of your drum sound. I talk about it all the time…..and now I’m going to talk about it more! 🙂

Over the next couple of weeks I will cover 3 or 4 different techniques for recording overheads starting with mono!

I think using a mono overhead mic gets overlooked all too often. It’s such an effective way to capture a good drum sound. Plus there are other ways to capture a stereo image…but that’s for another video.

In this video we’ll take a look at how the height and placement of the microphone effects your sound.

Check back soon for PT2!

Happy recording,
Charlie


Posted by Charlie in Recording Ninja Workshops, Recording Tips, Video Posts, 0 comments
Recording the Perfect Track w/Tim Pedersen

Recording the Perfect Track w/Tim Pedersen


A couple of weeks ago I had the honor of Tim Pedersen joining me on the Recording Ninja Workshop Live Broadcast. Tim has been one of my musical mentors since I moved to LA. Recently I had the opportunity to work with him on mixing and a little re-recording on an EP for another great friend of mine Tita Hutchison.

We covered a lot of great info about how we recorded the drums AFTER we had a mix finished. This video is a 10 minute excerpt from that broadcast.

Drums are usually the first instrument to be tracked…and usually quite quickly. Then all the other instruments get to take their time building their parts and sounds on top of the drum tracks.

Every once in a while that process gets flipped around and the drums go on last.

That’s exactly what happened for Tita Hutchison’s song “Frost” off of her debut EP “Hello Love“.

We were already deep in the mixing process when we decided that “Frost” needed drums. The song just didn’t feel quite finished and lacked some movement in it’s current arrangement. Since our mix was pretty much done it allowed up to really take some time designing a drum sound that would help move the song along.

Tim and I spent a total of about 12 days mixing (all in a row!) and took an entire day to track just drums. It was a really fantastic time. Tim had the idea of giving the drums an old school, vintage vibe. Which is exactly what the song needed.

After spending most of the day experimenting with sounds, mic placement, eq, and compression, we landed on something that we were really proud of. It’s a sound that we really felt fit the song and helped move it along.

Anyway enough of me talking about it. Enjoy this excerpt from our Recording Ninja Workshop Live Broadcast.

Happy recording!
Charlie


Enjoy some photos!

Posted by Charlie in Recording Ninja Workshops, Recording Tips, Video Posts, 0 comments
Minimal Micing Concepts: Recorderman

Minimal Micing Concepts: Recorderman


A good minimal micing setup can help you achieve fantastic results with only a few channels. It can also capture a wonderful, organic, sound no matter how many channels you have. There are quite a few minimal micing setups and, depending on your situation, all of them are useful. Today I would like to cover the very effective Recorderman setup.

The Recorderman setup uses only 2 microphones. One directly over the snare,aimed directly at the snare, and another over the should of the drummer also aimed at the center of the snare. Each mic should be roughly 2 drumstick lengths away from the snare. Of course the height can be adjusted to accommodate the drummer. I have also added a kick drum mic to help capture a good solid bottom end for our simple setup.

Personally I find the Recorderman a little uncomfortable as a player. It’s a very intrusive configuration so once we demonstrate the basic setup we move the mics a little higher to see if the sound changes at all.

Enjoy this setup. Next month we’ll look at another minimal micing configuration.

Happy recording!
Charlie

Subscribe to the YouTube Channel!

Posted by Charlie in Recording Ninja Workshops, Recording Tips, 0 comments
Recording Drums w/1 Microphone

Recording Drums w/1 Microphone


I know what you’re thinking. Do we really need to talk about recording drums, or any instrument for that matter, with 1 microphone again?

Yes.

Capturing any source with one 1 mic allows you to really learn about what you’re recording. Especially on a drum set which has many different parts. By focusing on using 1 mic you’ll learn to get the most of each mic you put on a kit.

In short, you’re multiple mic setups will become more effective by understand how to use only 1 mic.

This video is an excerpt from one of my Live Broadcast Seminars. I’m going to use a single Audio-Technica AT4047 to capture our drum sound. The big focus will be on using mic placement, specifically the height, to act as a natural eq.

Find some time this week to pic a microphone out of your mic locker and try this out in your recording space. I promise you what you’ll learn will make your recordings better!

Happy recording!

Charlie

Posted by Charlie in Recording Tips, Video Posts, 2 comments
Simple Room Micing Trick

Simple Room Micing Trick


There is simply no better way to add depth, space, and sometimes excitement to your drum sounds than using room mics. Can you say Led Zeppelin?

However, I realize that not everyone has the space to really explore all the cool room mic possibilities. Yes, you could use reverb to simulate a room sound and it would work nicely, but…..

There is nothing cooler, and more realistic, than the feeling of an actual mic capturing the drummers performance in the room.

Today I want to show you a cool room mic trick that can work in ANY size room. Small or large.

On a recent Live Streaming Seminar I pulled out an old trick I used to do in my first studio that was considerably smaller than my studio now. Actually it was smaller than my current control room!

Best of all this trick used only 1 microphone so all you need is a single condenser (you could try a dynamic mic too).

So watch the video and then go grab a mic and experiment!

Happy recording!

Charlie

p.s. I’ll be doing a part 2 with concept soon!


Take your drum recordings to the next level!
Get your copy today!

The Art of Recording Drums Vol. 1 by engineer/producer Charlie Waymire

Posted by Charlie in Recording Tips, Video Posts, 0 comments
Building A Drum Sound pt4!

Building A Drum Sound pt4!


In our final installment of “Building A Drum Sound” I’m replacing the mono overhead with a stereo spaced pair.

This isn’t your typical spaced pair however. I approach my overheads a little different than the norm. Actually I adapted this from a setup that I saw George Massneburg use. It’s not the same, but definitely inspired his setup for sure.

This is something that is easier to explain in a video so I’m not going to try and explain it here. You will notice however that the overall drum sound will definitely open up now. We’ll actually have a real stereo image!

I hope you’ve enjoyed this mini series on Building A Drum Sound and I always love hearing from you. Especially about your recording endeavors.

Happy recording everyone!

Charlie


p.s. I’ll be conducting a drum recording master class this coming Saturday at 12pm pacific time. It will live stream from the Ultimate Studios, Inc YouTube channel.

Hope to see you there!

Watch Building A Drum Sound Part 1
Watch Building A Drum Sound Part 2
Watch Building A Drum Sound Part 3

Posted by Charlie in Recording Tips, Tracking, 0 comments
Building A Drum Sound pt2 Is Up!

Building A Drum Sound pt2 Is Up!


In “Building A Drum Sound pt1” I focused on getting a complete drum sound with only 2 microphones. A mono overhead and a mic in front of the kit.

Those 2 mics produced a very nice, full, and accurate drum sound. They work on their own but they also give us a strong foundation to build a full, modern, punchy, rock tone.

So now that we have a strong foundation we’re going to add spot mics on the kick and snare to help give our drum sound some punch, presence, and a bit more clarity.

With the ribbon mic supplying our low end and body of the kick, we’ll place our kick mic well inside the drum. This will help give the kick some much need punch to cut through the mix.

Although the overhead mic captured a wonderful snare sound, adding a mic to the top of the snare will help with articulation and, like the kick, help the snare cut through the mix.

Remember, the first two mics are really important. Without them our spot mics will sound small and lack any sense of space or depth.

Last week I challenged you to pick two microphones from your mic locker and record the best drum sound possible. Now I want to you take those two microphones and add a mic on the kick and snare. Send me a message and let me know how it goes!

Enjoy “Building A Drum Sound pt2” and I’ll see you next week for part 3!

Happy recording!

Charlie

Posted by Charlie in Recording Tips, Video Posts, 0 comments
Building A Drum Sound pt1

Building A Drum Sound pt1


“I put a mic on every drum. Why doesn’t it sound good?”

I’m sure at some point we’ve all asked ourselves that question. I know I have! Either it just didn’t sound good or it was completely the wrong sound for the music. Building the “right” drum sound is about more than just setting up mics on all of the drums.

The drum set isn’t a collection of different instruments. It’s one instrument made up of different pieces.

This is a very important, and often overlooked, aspect of recording a drum sound that has body, depth, and punch. For this very reason I always get the majority of my drum sound from as few mics as possible.

Even if I’m setting up 20 mics on a drum set the majority of my tone will come from 3-5 microphones. This is how I make sure that I’m capturing the drums as one instrument as well as getting a nice, full tone. From this point on I let the music tell me what mics I need to add to achieve a sound that works for the song.

In part 1 of “Building A Drum Sound” I’m going to show you how to capture the drums with only 2 microphones. I’ll explain what mics I use, where I positioned them and why I chose them. Then you’ll hear those mics with our song to see how they fit.

My challenge to you this week is to pick 2 microphones out of your mic locker and get the best drum sound possible. This is also a great way to experiment and learn how your mics sound!

I’ll see you next Tuesday with part 2. Happy recording!

Charlie

Posted by Charlie in Recording Tips, 3 comments
Behind The Scenes – Drum Recording Ninja Workshop

Behind The Scenes – Drum Recording Ninja Workshop

Go behind the scenes of the Drum Recording Ninja Workshops. This video is from a live Periscope broadcast and was shot just prior to our latest Drum Recording Ninja Workshop. For this workshop Charlie was joined by his FullOnDrums.com cohort Scott Francisco and drummer extraordinaire Jeff Bowders.

The Drum Recording Ninja Workshops are for ANYONE that is interested in recording drums. Topics that are covered include tuning tips, mic types and choosing the right mics, overhead techniques, room micing techniques, minimal micing techniques, and much, much more. Our goal is to show you techniques that you can use on your very next session!

For those of you who haven’t attended a workshop yet we would like to give you a little behind the scenes look at the setup. We have fun at these workshops and so does everyone that attends. Below are a few photos plus the input list for the workshop.

Enjoy and we hope to see you at the next workshop!


Posted by Charlie in News, Recording Tips, Tracking, Video Posts, 0 comments